Building digital twins with photogrammetry
Replaced tape-measure passes with photogrammetry. Phase 1 used Polycam for fast room scans. Phase 2 used dedicated capture with about 2 mm object-level accuracy. Scans stayed reference only. The RoboCanes lab was remodeled on top of them.
- Date
- Oct 8, 2024
From Tape Measures to Reality Capture
Started with tape measurements and a quick plan sketch. It worked, but it was slow and easy to get wrong.
Photogrammetry improved the process. One capture gave full spatial context, so time went into building the environment instead of constantly verifying dimensions.
Phase 1: Rapid Scans with Polycam
Switching to Polycam sped things up. Room-scale scans took minutes. Scans were imported into Blender as reference to block out walls, the ceiling grid, cabinetry, and primary fixtures. They stayed as guides only. Glossy desks, cables, and clutter scanned poorly, but the tile grid and door heights held scale. That was enough to rebuild clean surfaces on top while keeping everything aligned.
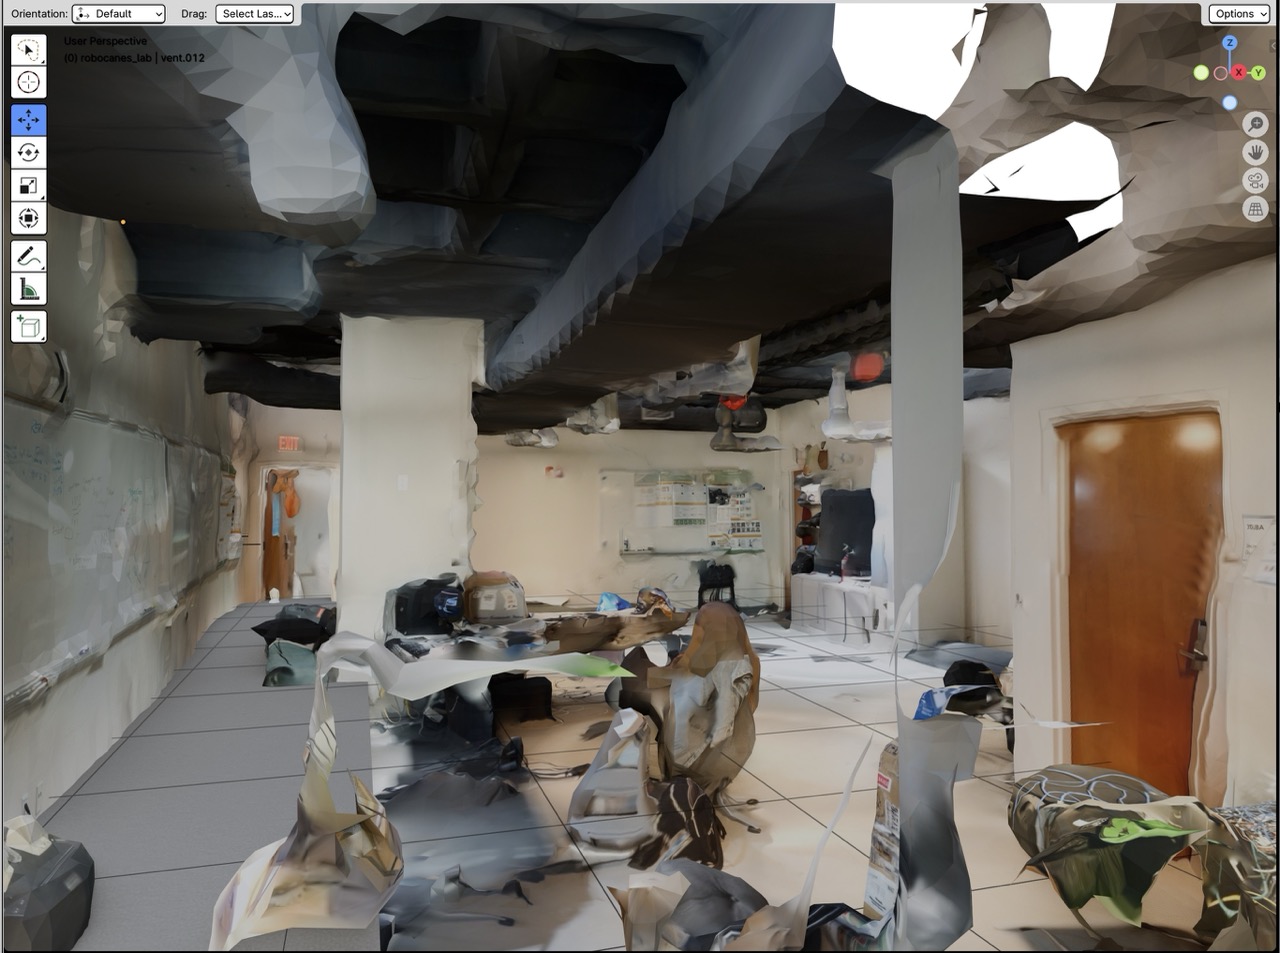
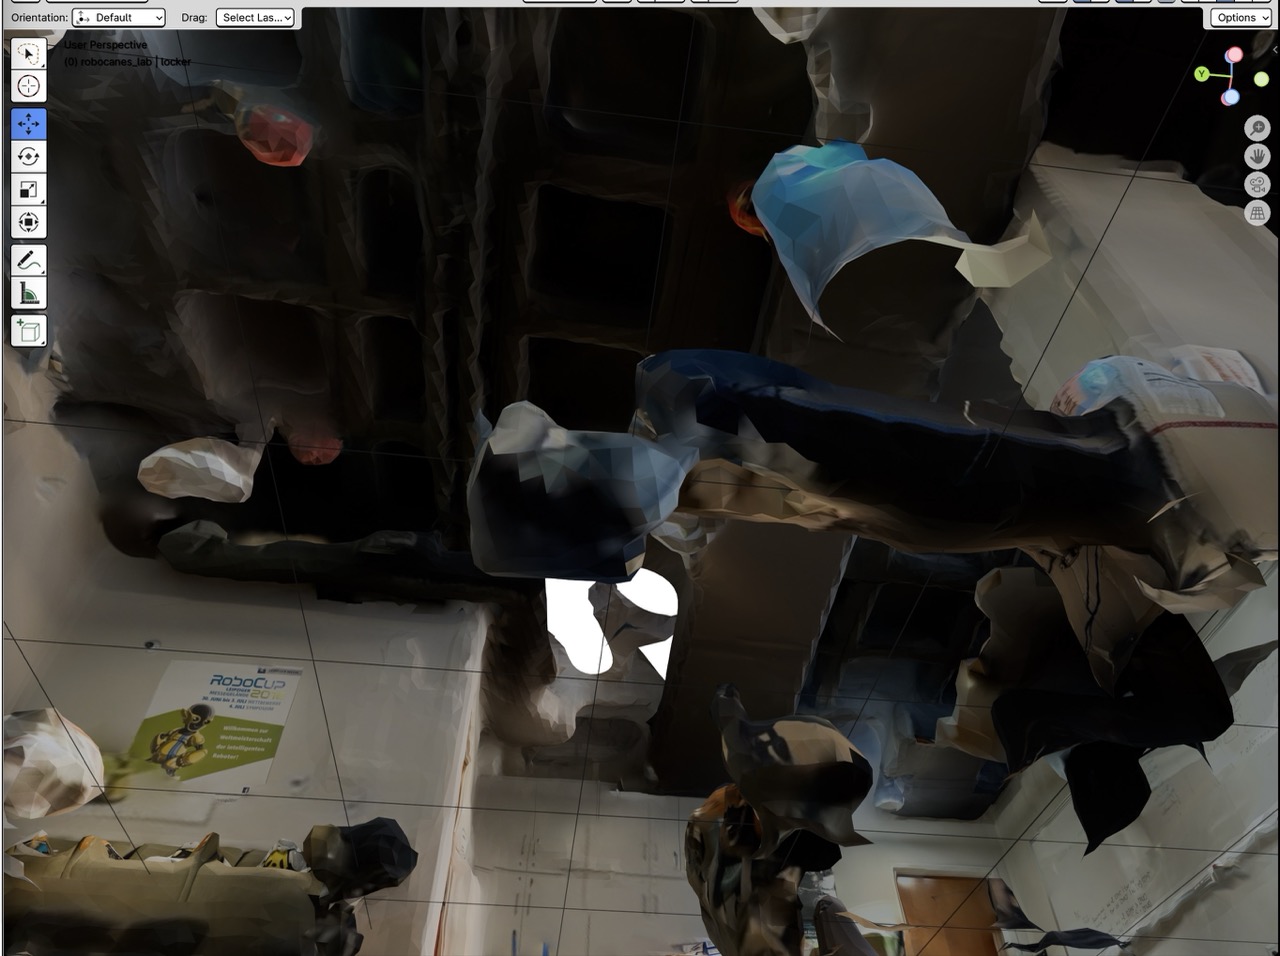
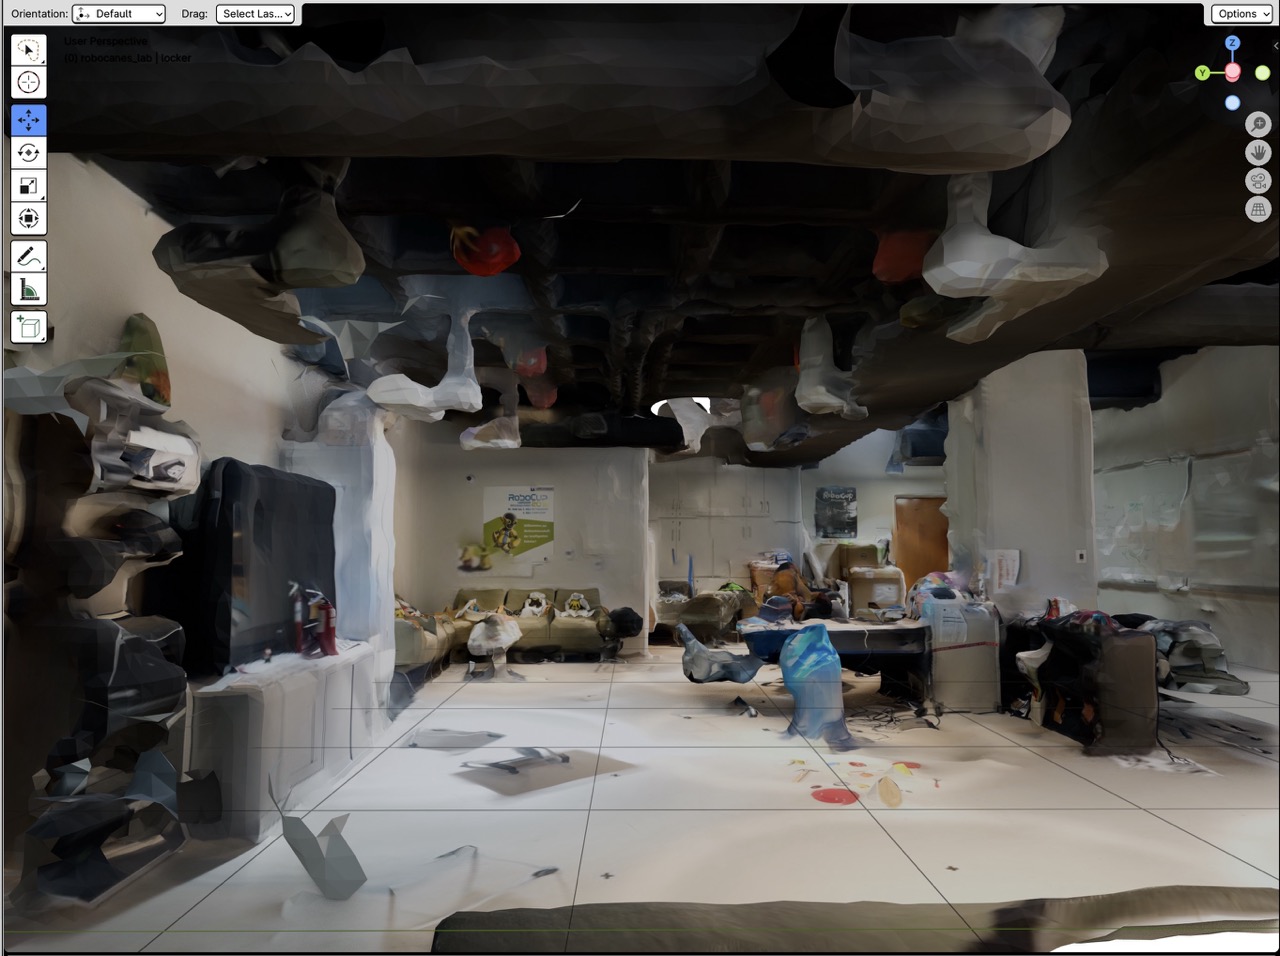
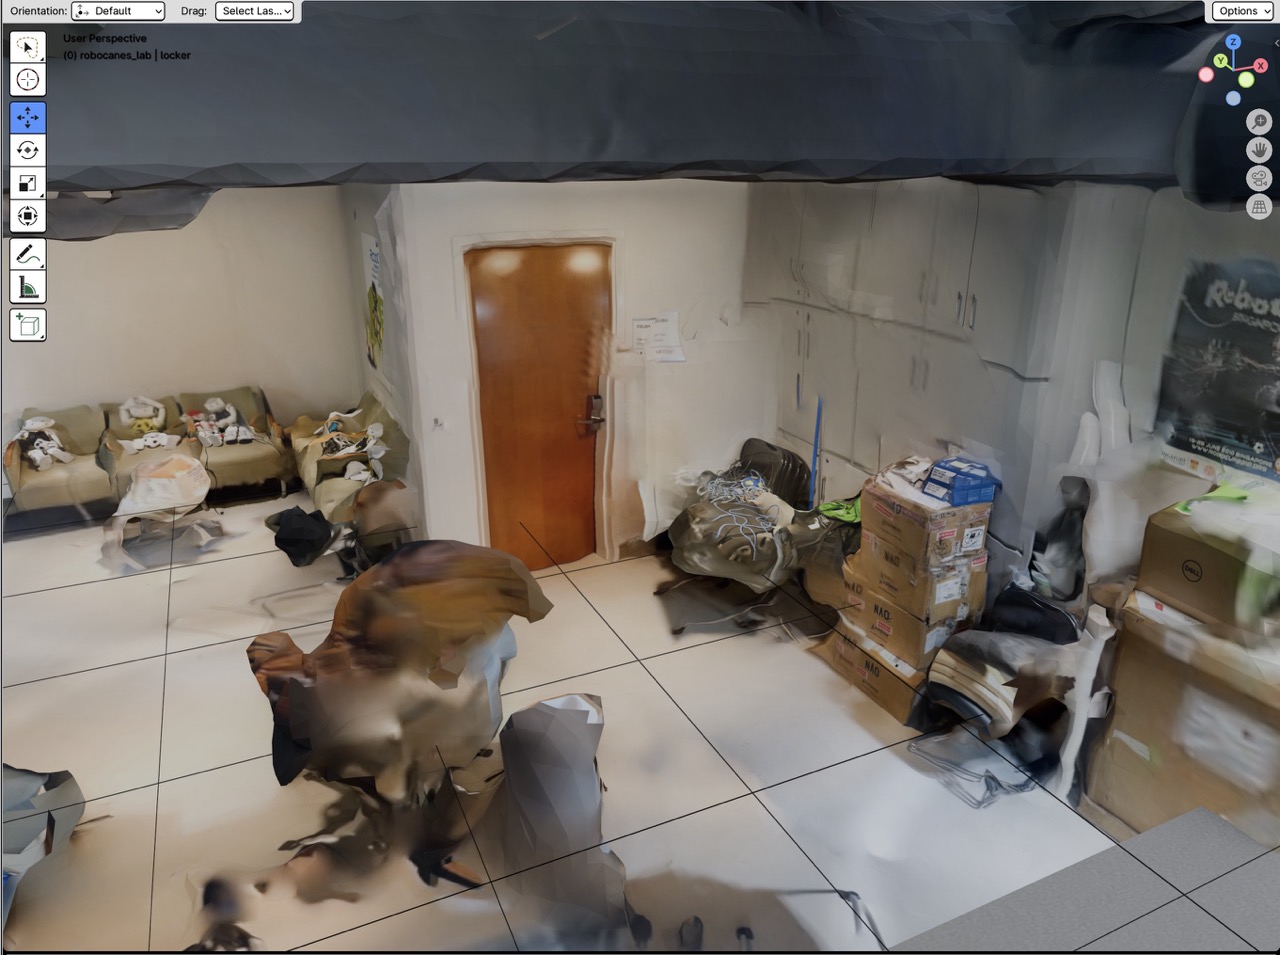
Phase 2: Higher-Fidelity Photogrammetry
A later pass used dedicated photogrammetry equipment from collaborators. These datasets captured smaller features and kept consistent scale, at about 2 mm at the object level. They were used as higher-confidence reference to tighten proportions, re-check alignment, and place fixtures and architectural details accurately.
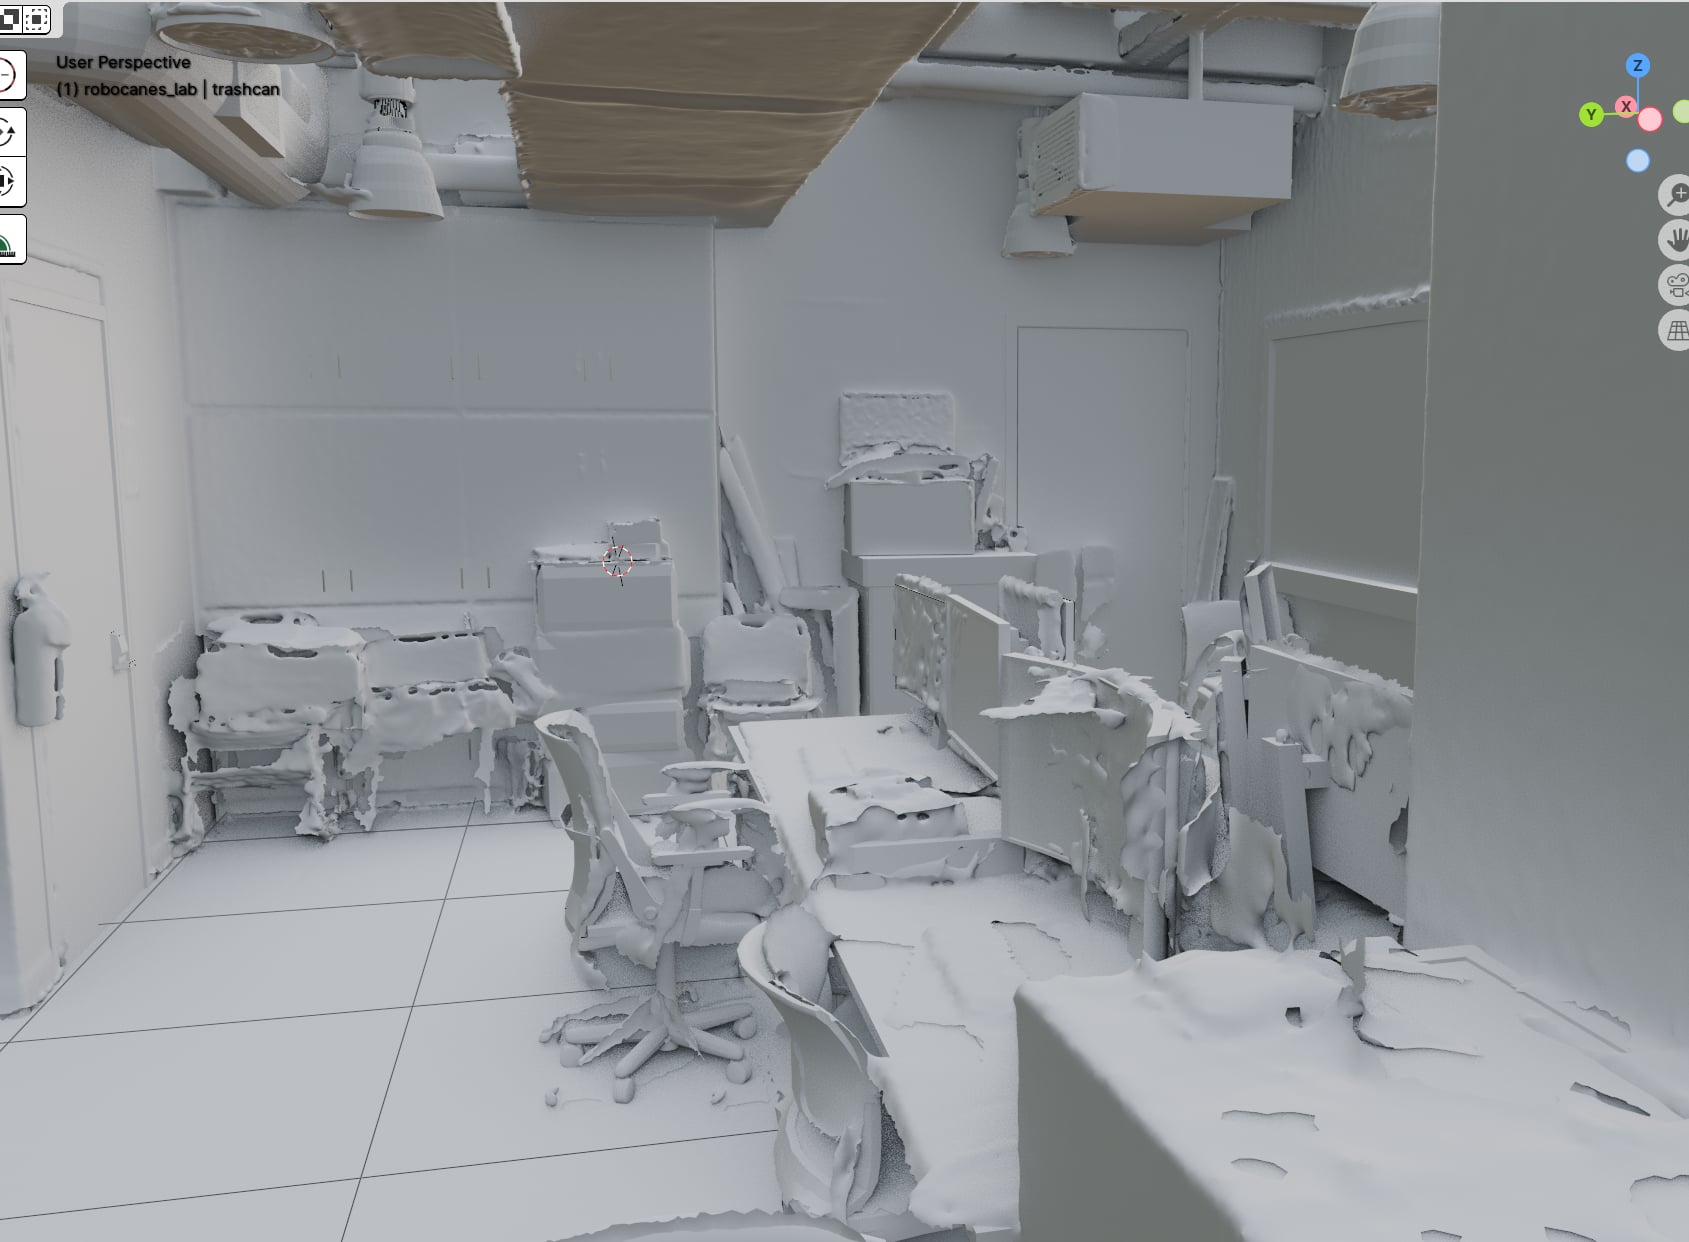
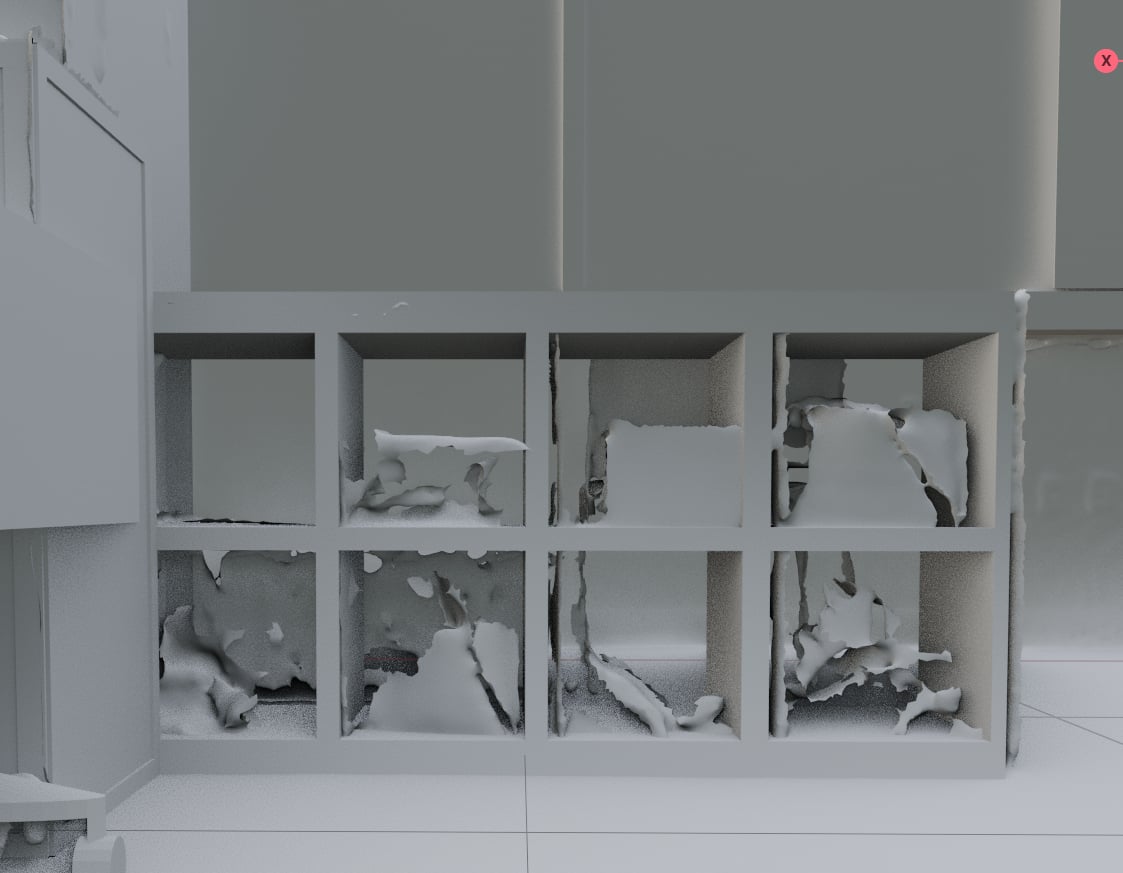
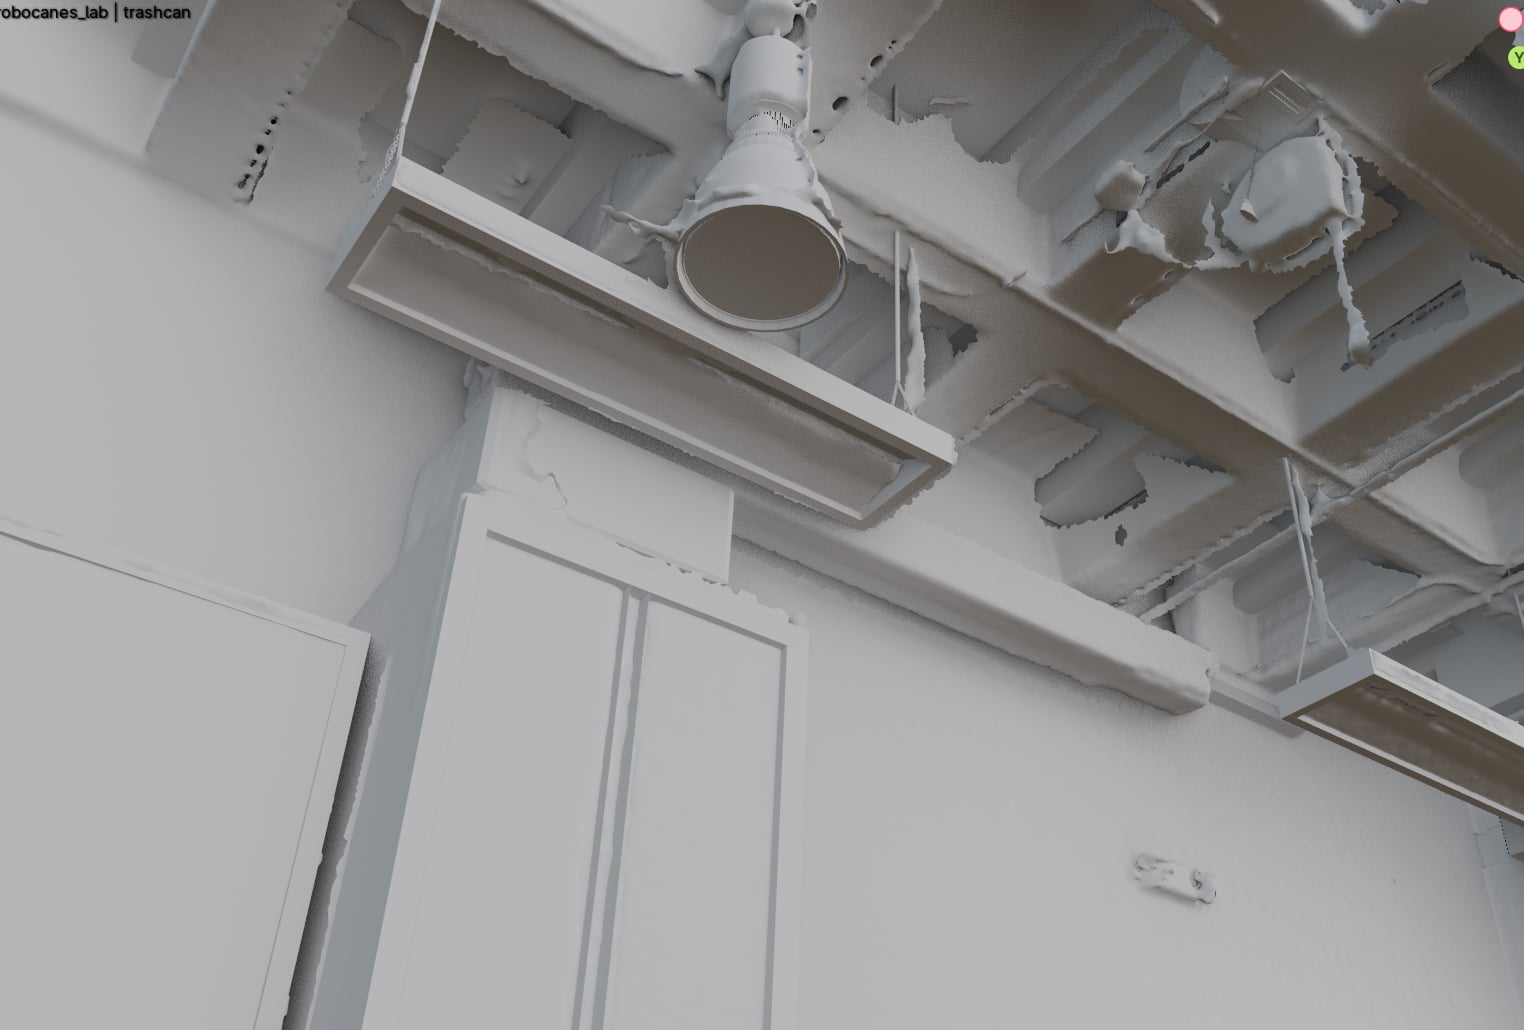
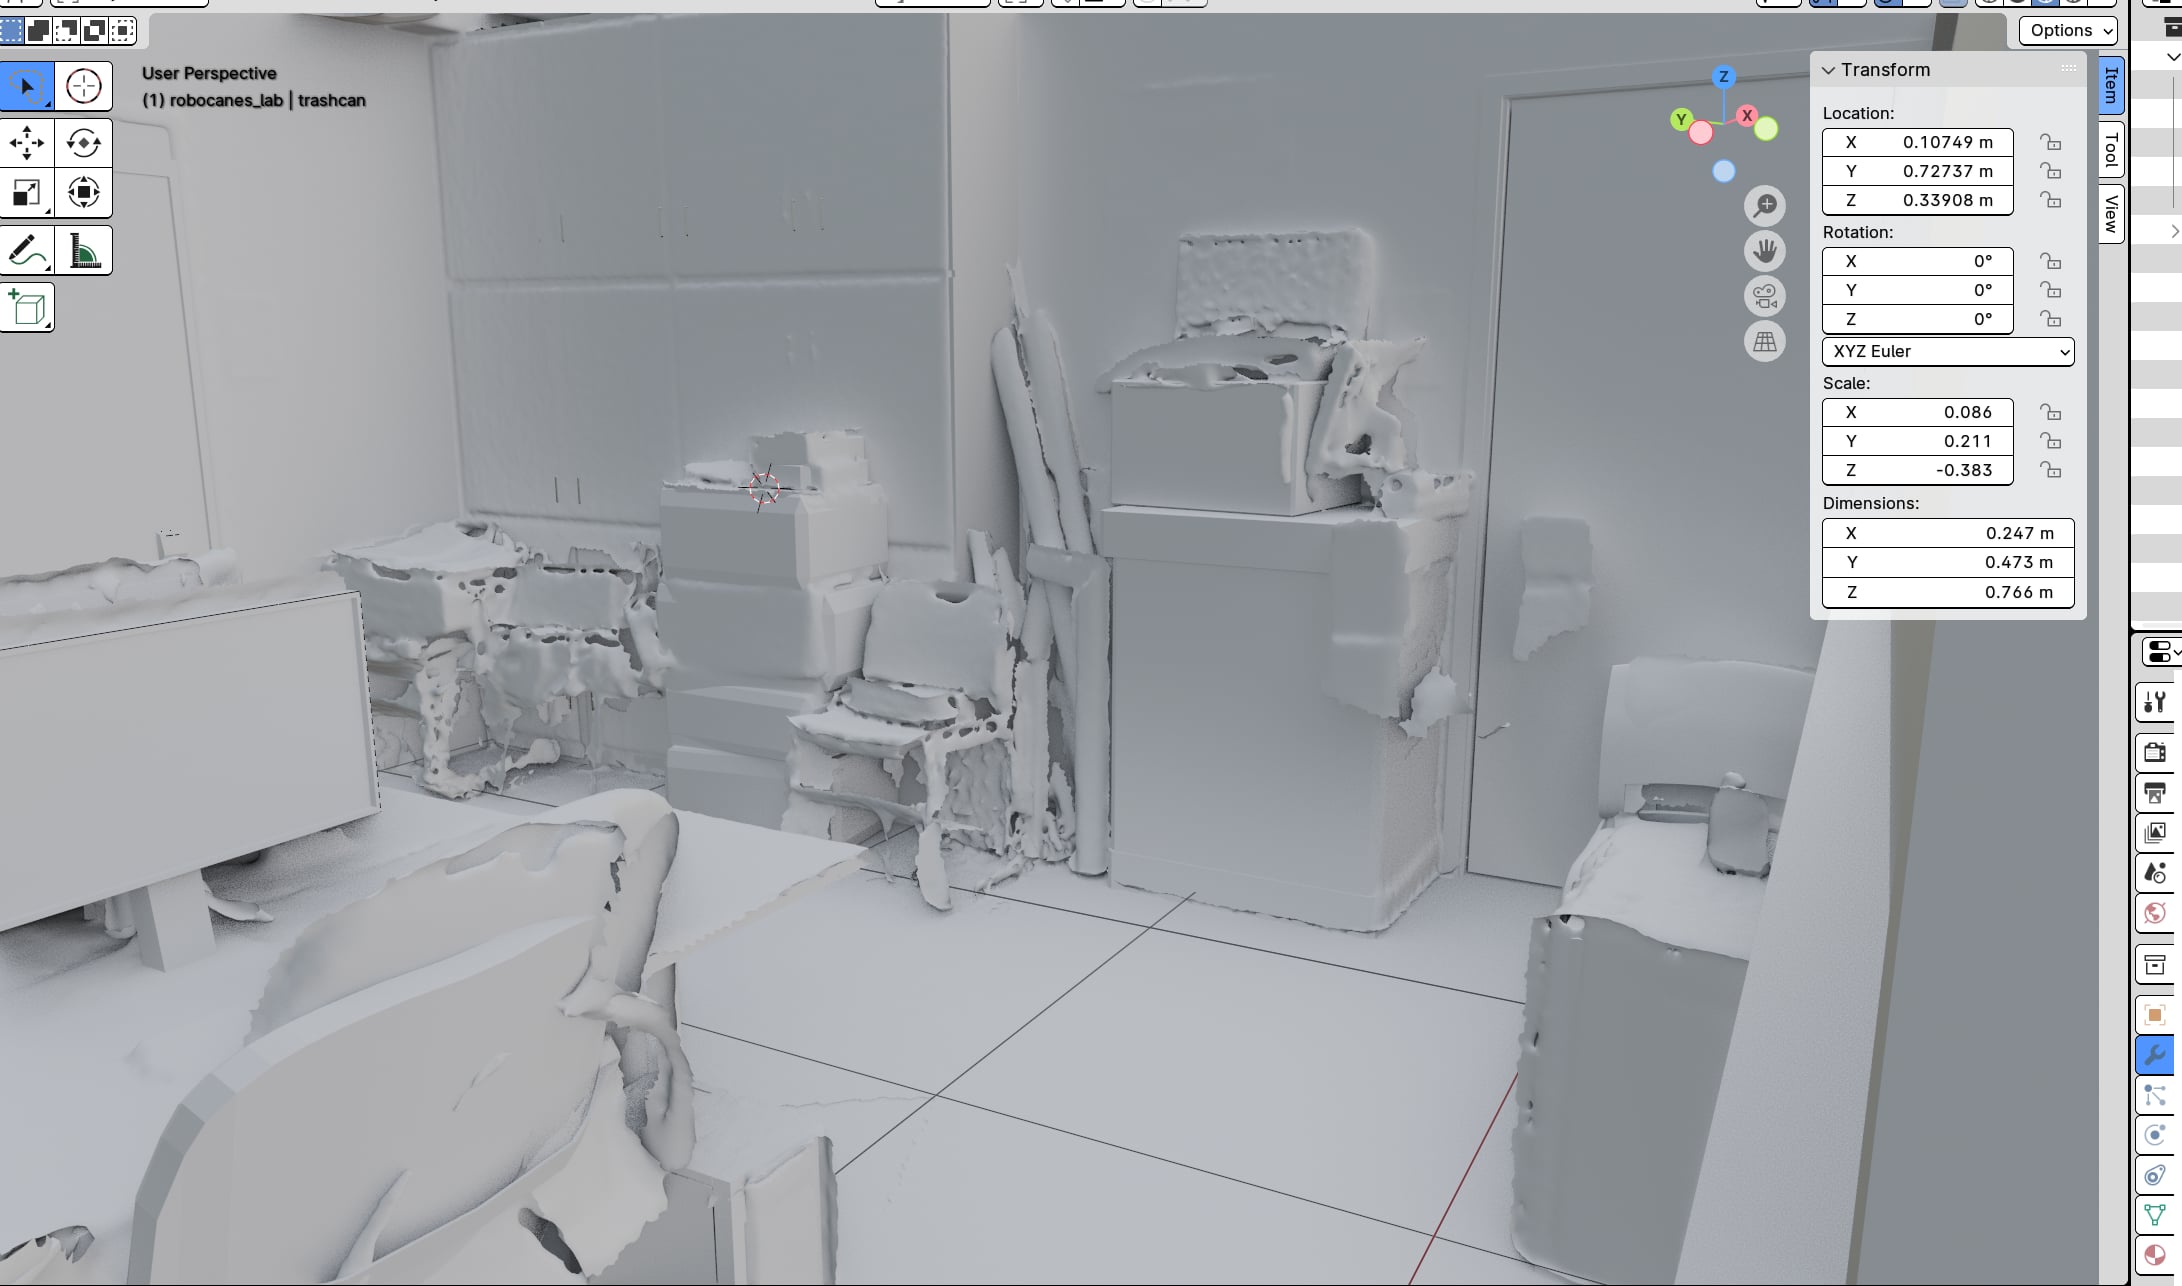
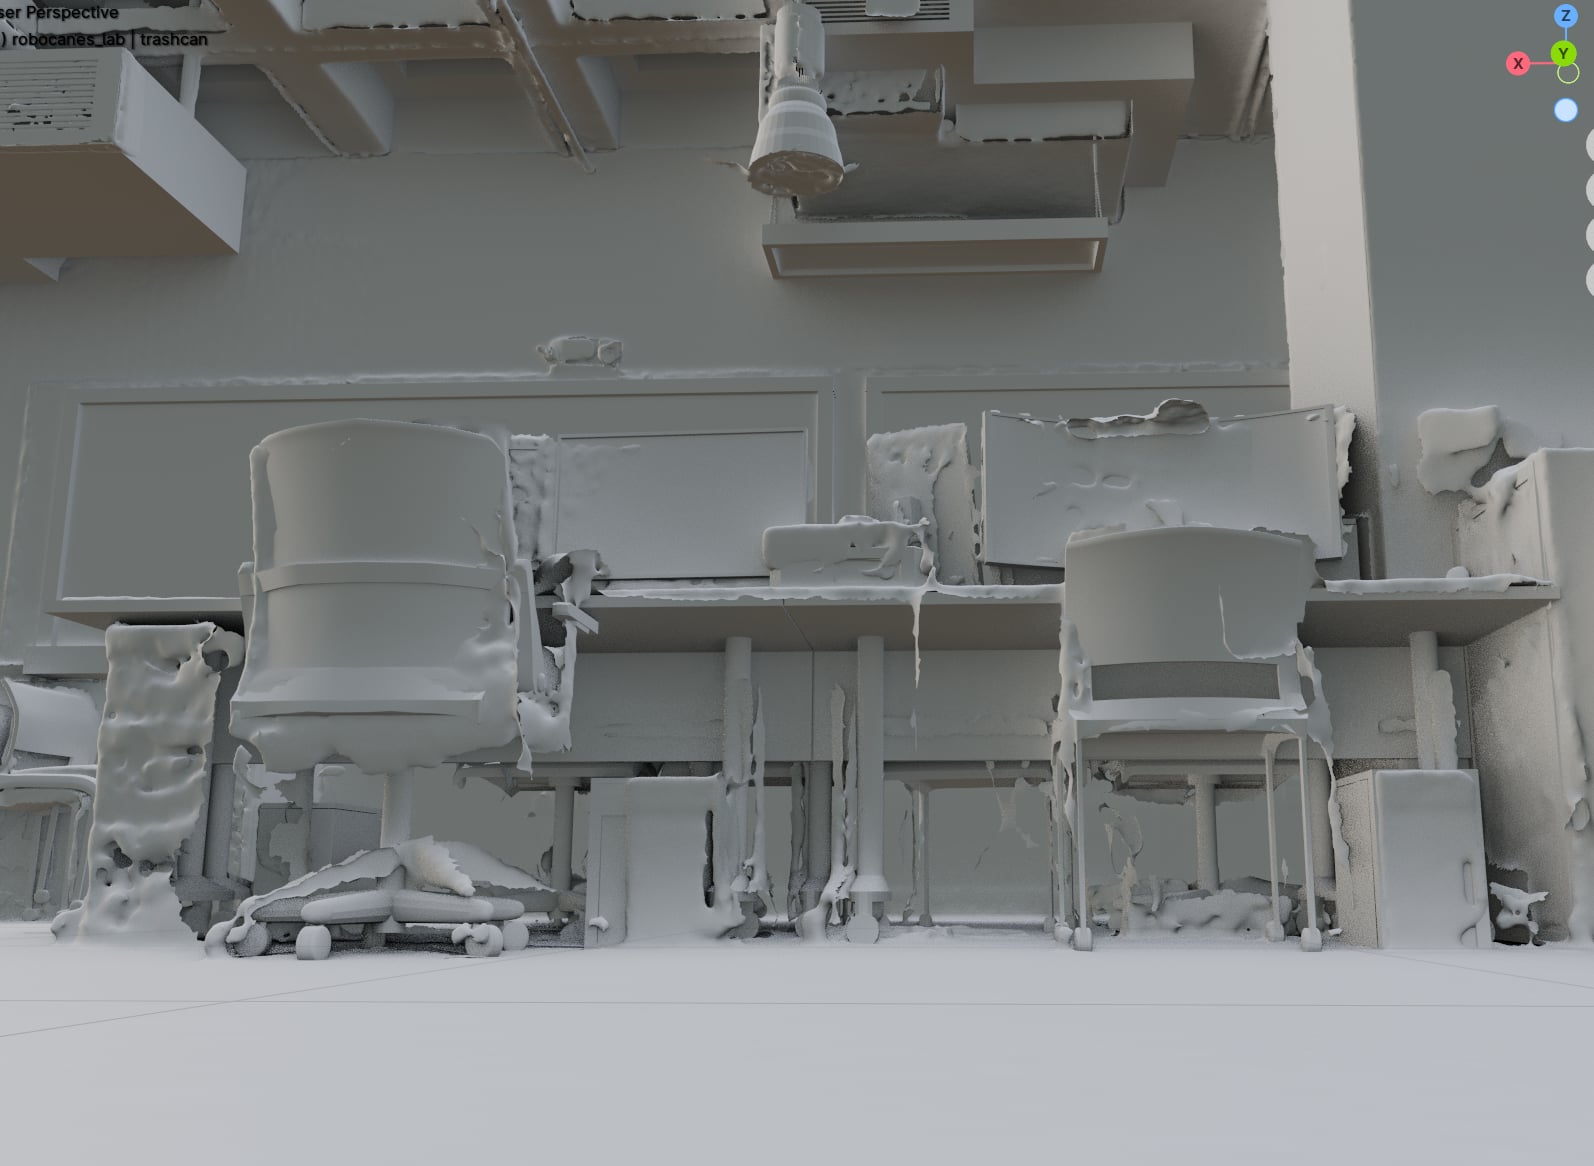
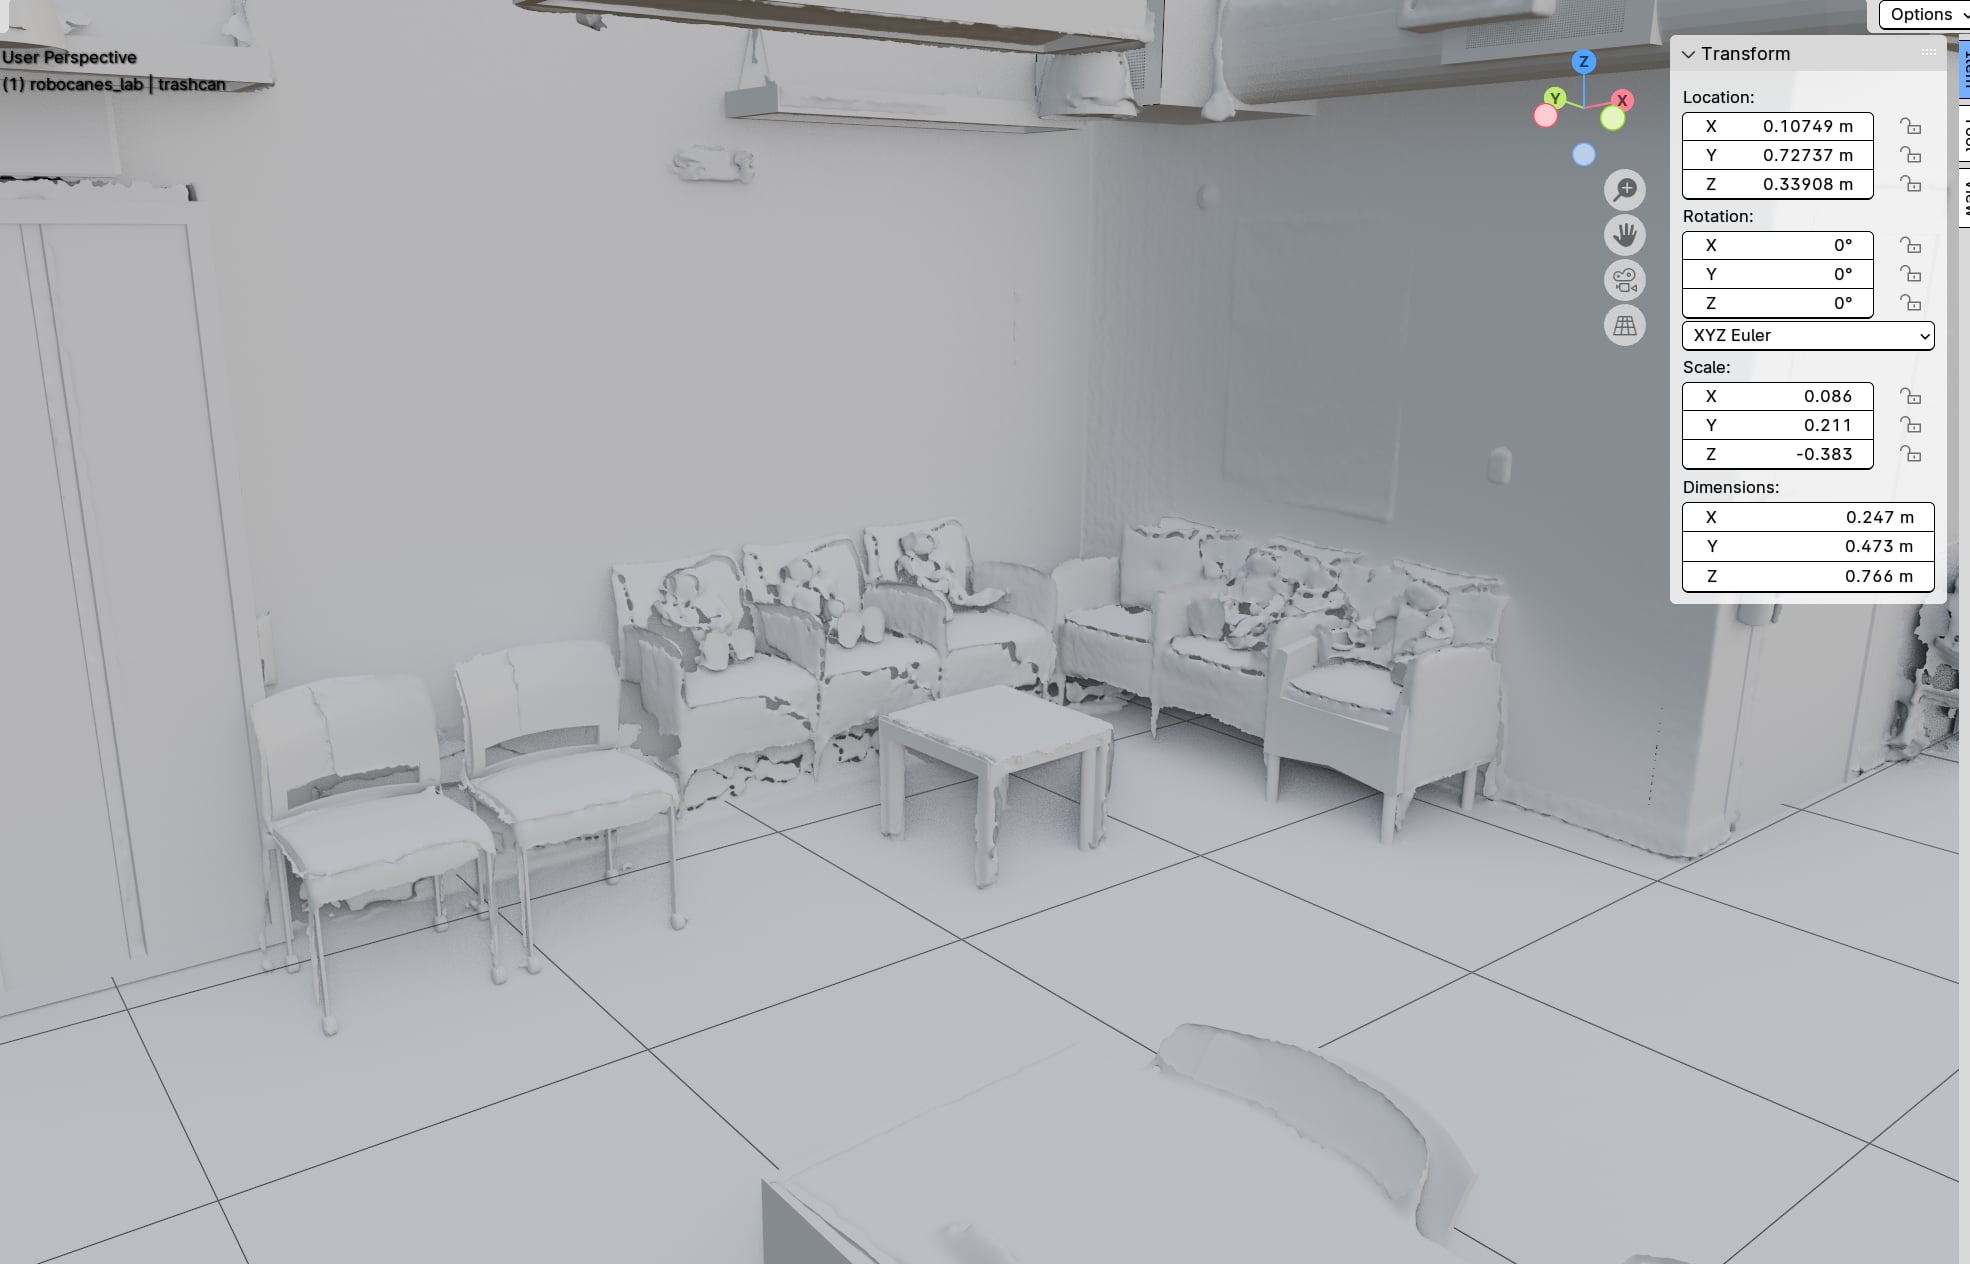
How the Scans Were Used
- Reference only: scans were used as guides. No scan cleanup for delivery, and nothing used at runtime.
- Blockout first: walls, ceiling grid, doors, and large furniture modeled over the scans in Blender.
- Scale checks: scale verified using repeatable features (tile grid, door heights) plus a few spot measurements.
- Selective remodeling: noisy and glossy areas replaced with clean geometry. Clutter kept as simple proxies when needed.
- Hand-off: modeled assets moved into the digital-twin scene for lighting and look-dev.
Pipeline Impact
- Layouts in hours, not days: room context came early, so composition could guide modeling and fidelity decisions.
- Fewer re-visits: scans reduced tape-measure drift and repeat trips.
- Better placement: fixtures and architectural elements landed where they are in the lab, which helped set dressing and lighting.
- Known limits: moving clutter and specular surfaces still need curation. Hero pieces are best rebuilt.