RoboCanes Lab Digital Twin
A digital twin of the RoboCanes robotics lab at the University of Miami, built from photo references and photogrammetry scans so the team can develop and test robots in a virtual copy of their workspace.
- Timeline
- Jan – Dec 2024
- Category
- Digital twin · Environment
- Tools
- Blender, USD Composer, NVIDIA Omniverse
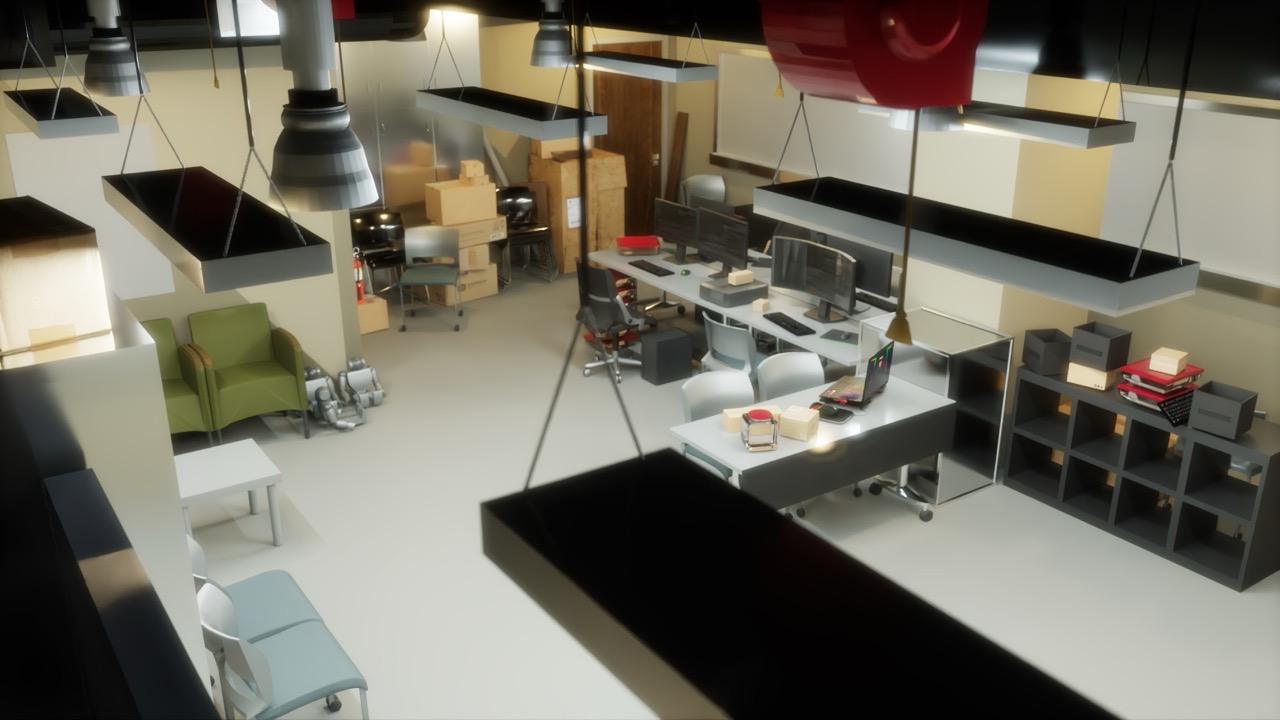
A digital twin of the RoboCanes lab in the Department of Computer Science at the University of Miami, built so the RoboCanes team can develop and test their robots in a virtual copy of their real workspace.
My Role
- Photographed references and modeled the lab in Blender.
- Captured phase 1 scans with Polycam's LiDAR, which led the lab to commission a full scan with dedicated photogrammetry equipment for phase 2.
- Rebuilt the lab from that full scan in Blender: cleanup, remodeling, and geometry optimization.
- Textured the space with Poliigon materials and dressed it with credited Sketchfab props.
- Tuned materials, matched the lighting to the real lab, and rendered in USD Composer.
Acknowledgements
Created for, and owned by, the RoboCanes Lab at the Department of Computer Science, School of Arts & Sciences, University of Miami.
RoboCanes Lab at University of Miami
Developed under the guidance of the RoboCanes team, led by Professor Ubbo Visser.
Professor Ubbo Visser at University of Miami
Project Overview
The goal was a virtual lab accurate enough to stand in for the real one: same layout, furniture, and equipment. The project ran in two phases. Phase 1 started from photo references and moved to phone-based photogrammetry. Phase 2 rebuilt the lab from a full scan captured with dedicated equipment.
- Phase 1: References and First Model
- Phase 1: Photogrammetry with Polycam
- Phase 1: Remodeling and Texturing
- Phase 1: Finishing the Environment
- Phase 2: Full-Lab Scan
- Phase 2: Rebuilding from the Scan
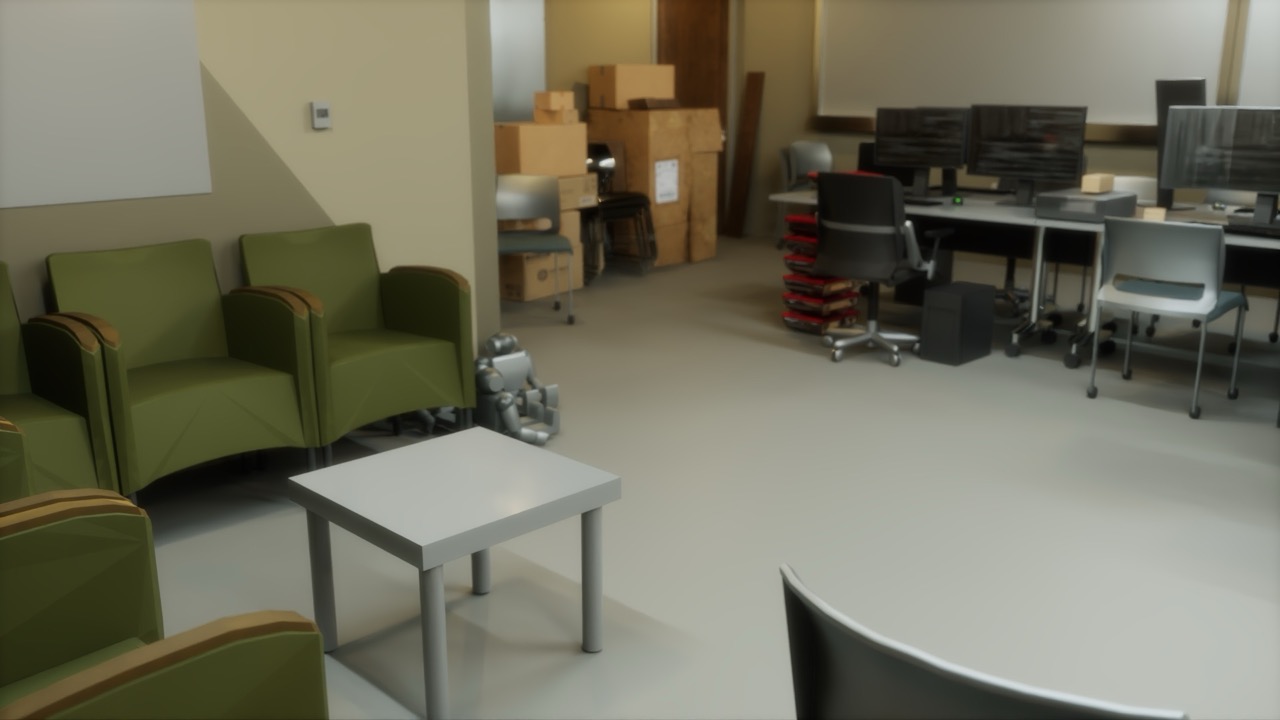
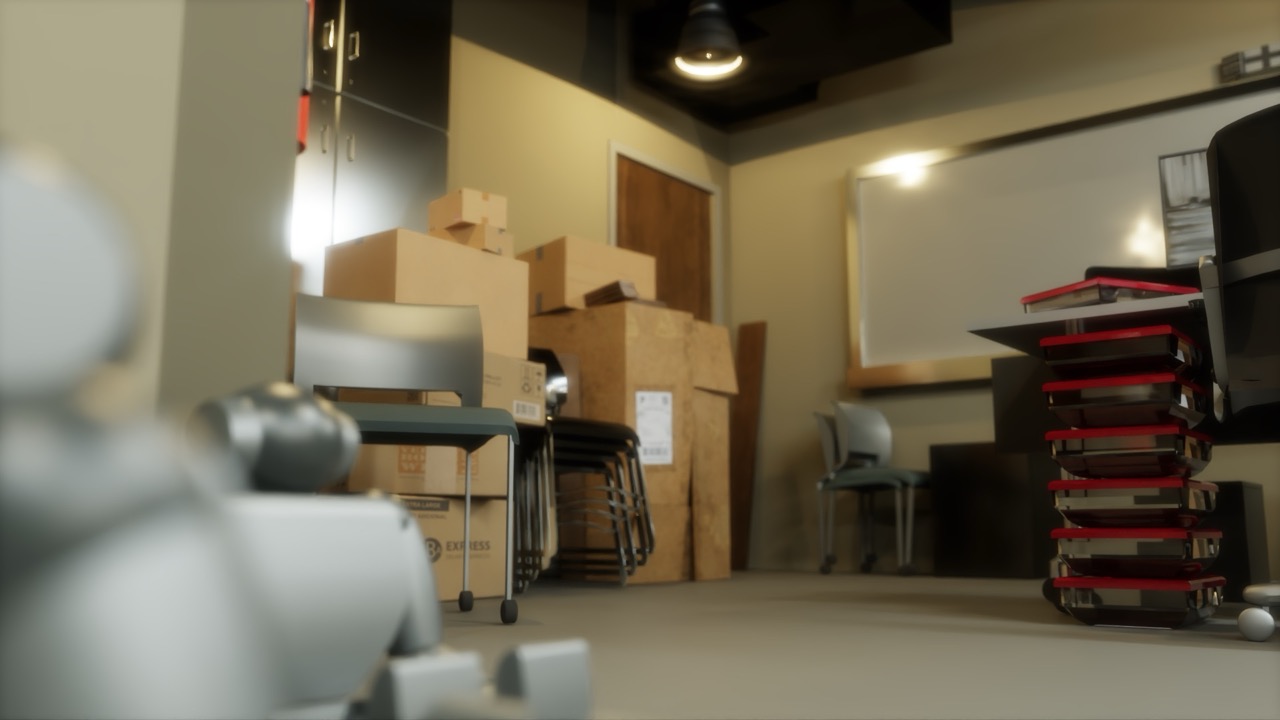
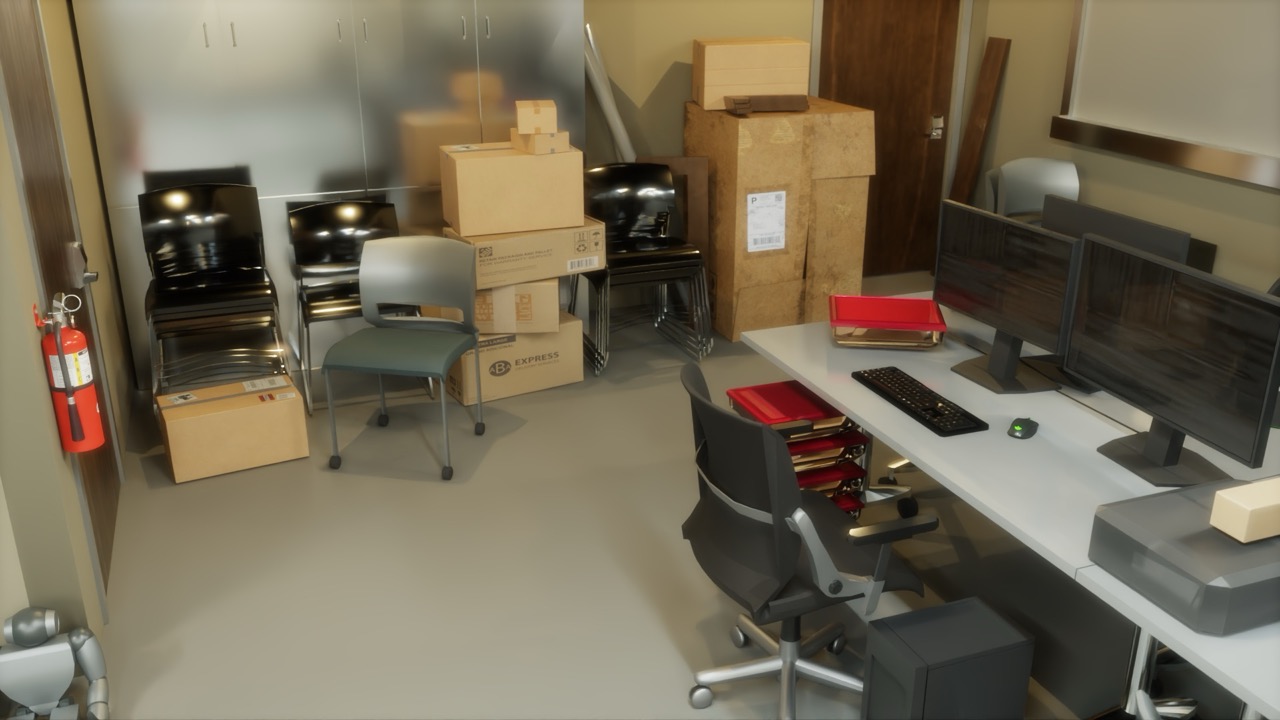
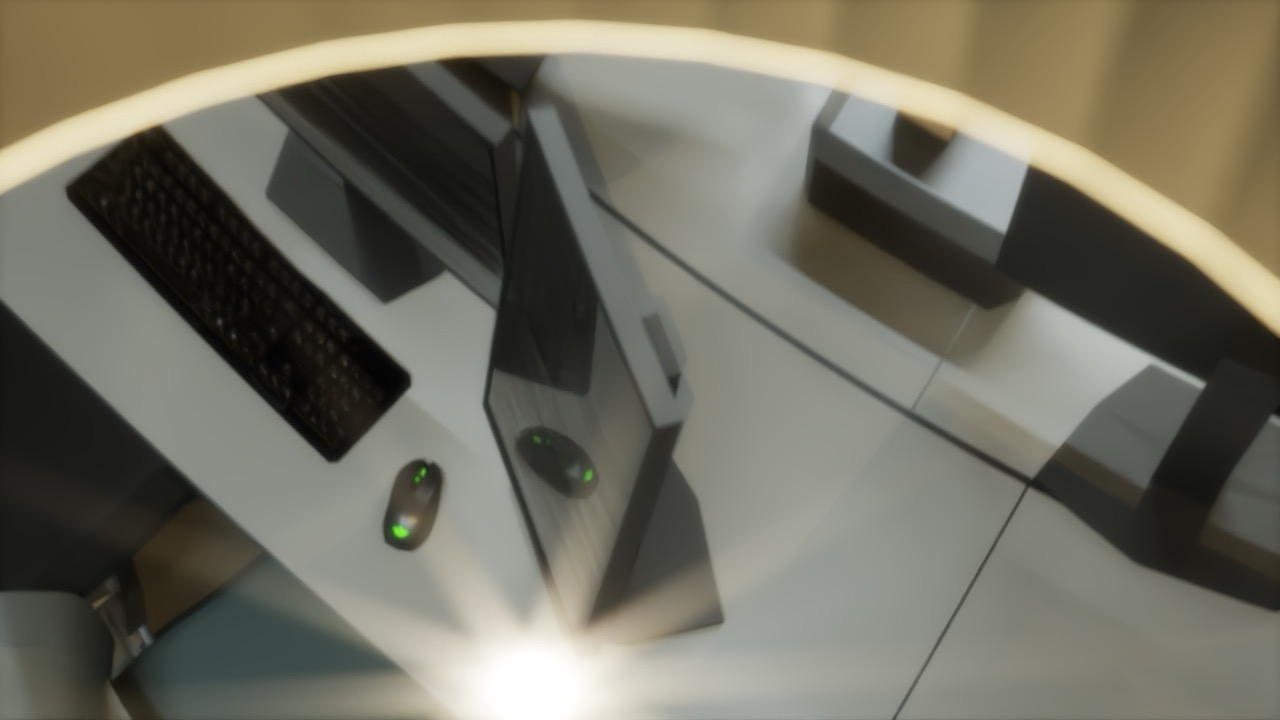
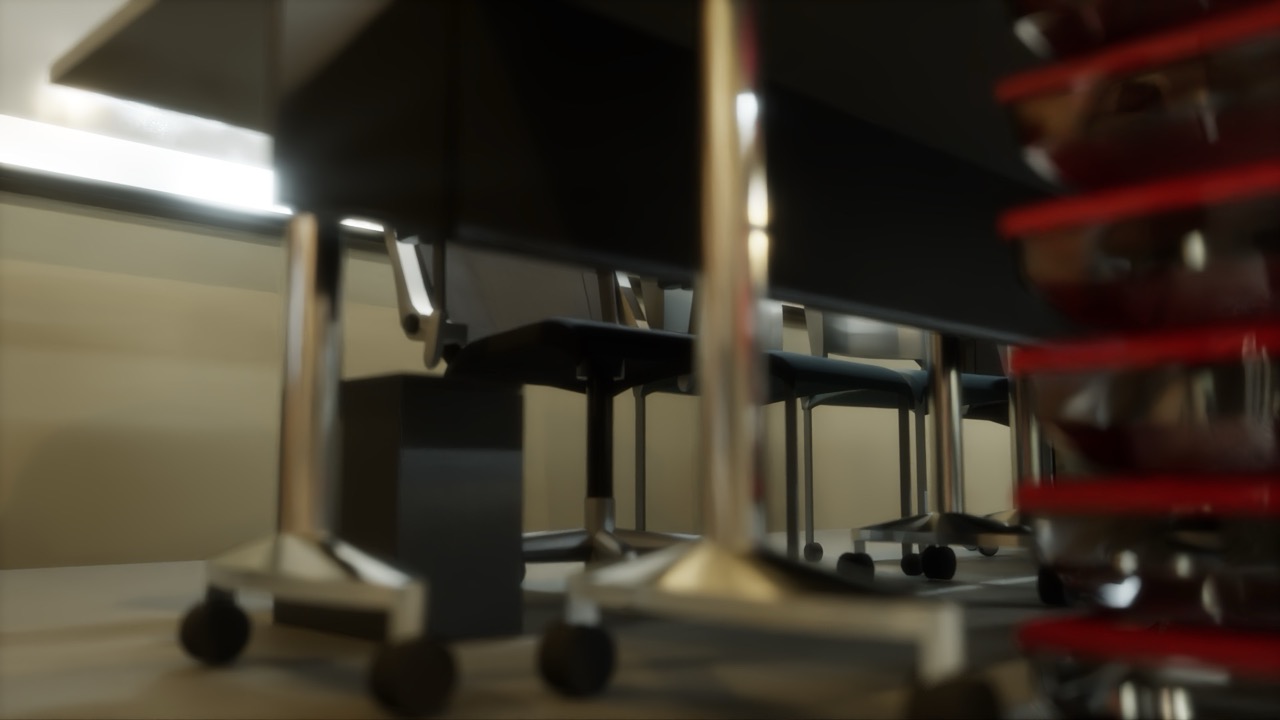
- Phase 2: Final Renders
Phase 1: References and First Model
I photographed the lab from many angles and started modeling it in Blender. The slow part was measuring: getting accurate dimensions for a room full of furniture and hard-to-reach fixtures took far longer than the modeling itself.
Phase 1: Photogrammetry with Polycam
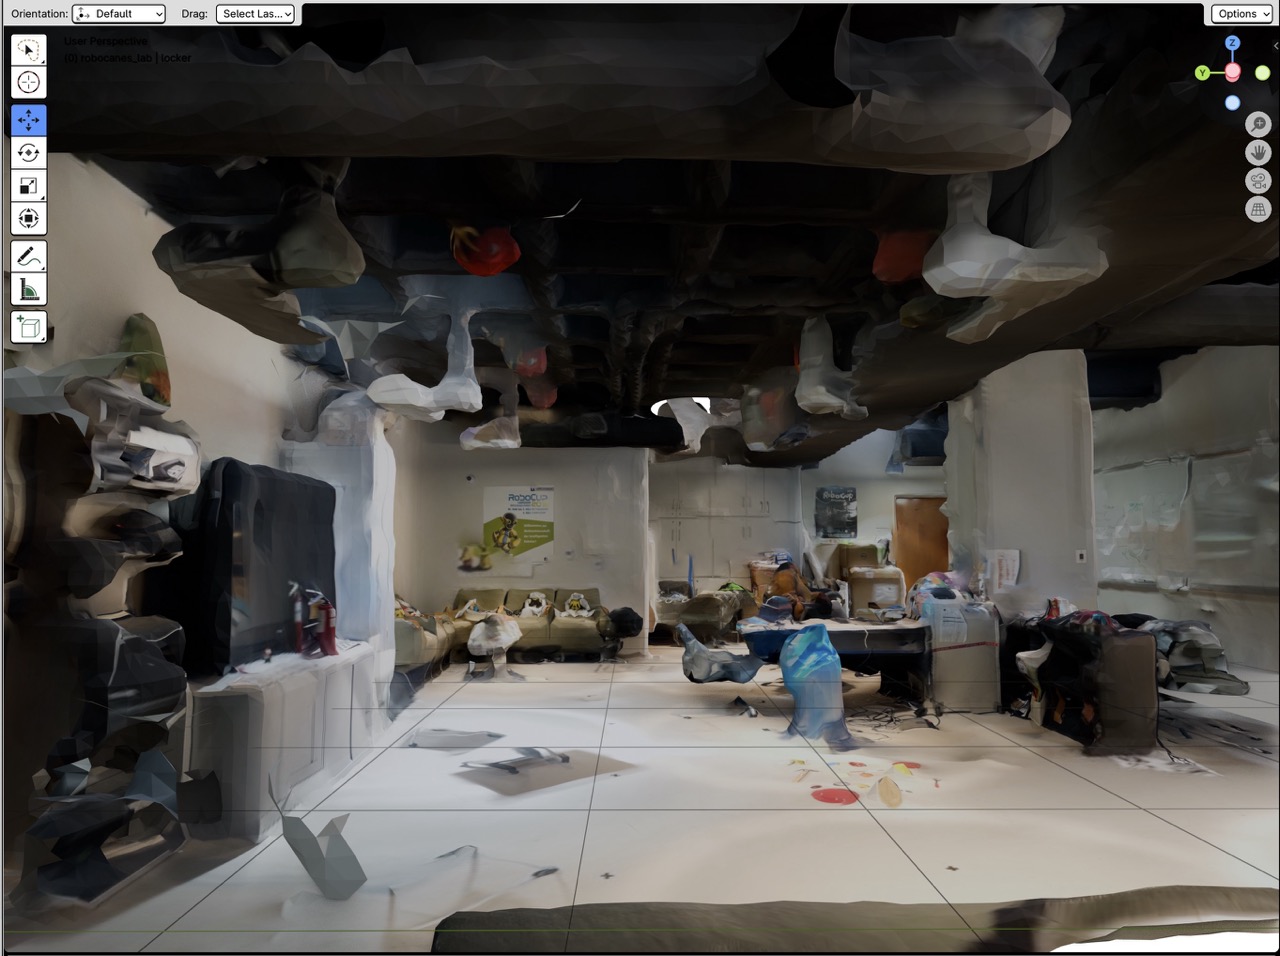
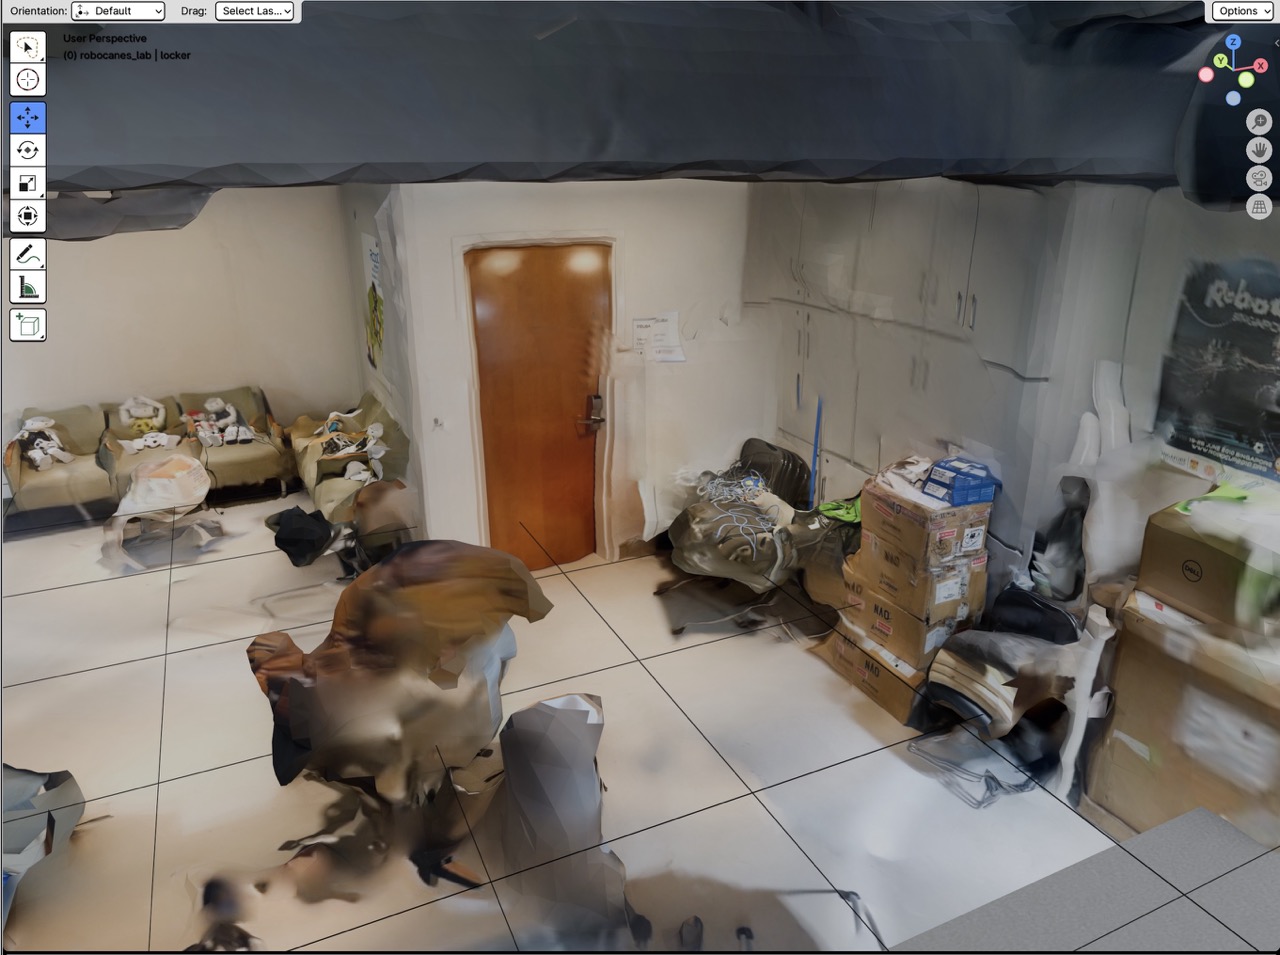
To get around manual measuring, I switched to photogrammetry: building 3D geometry from many photos of the same space.
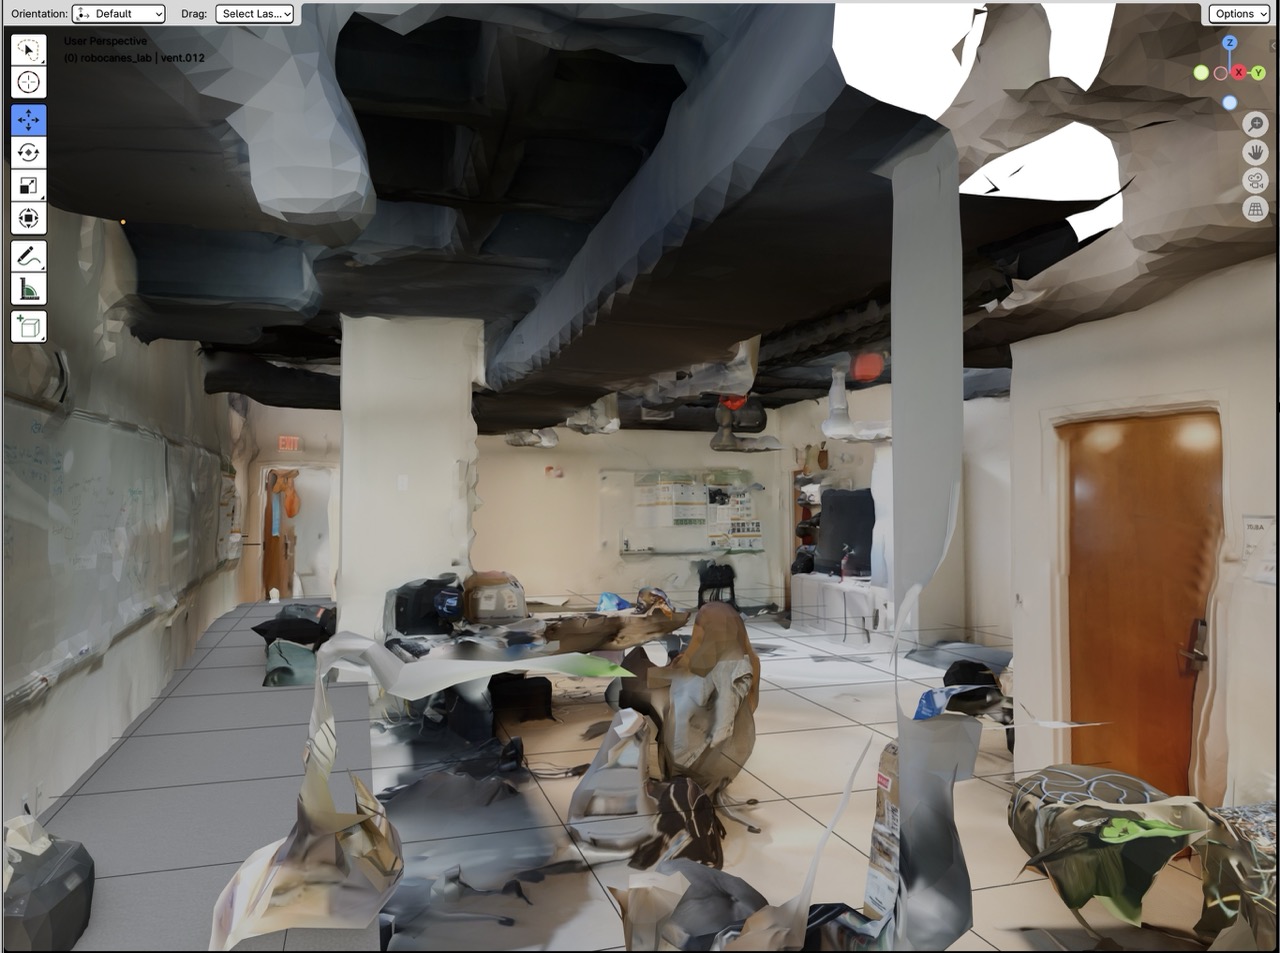
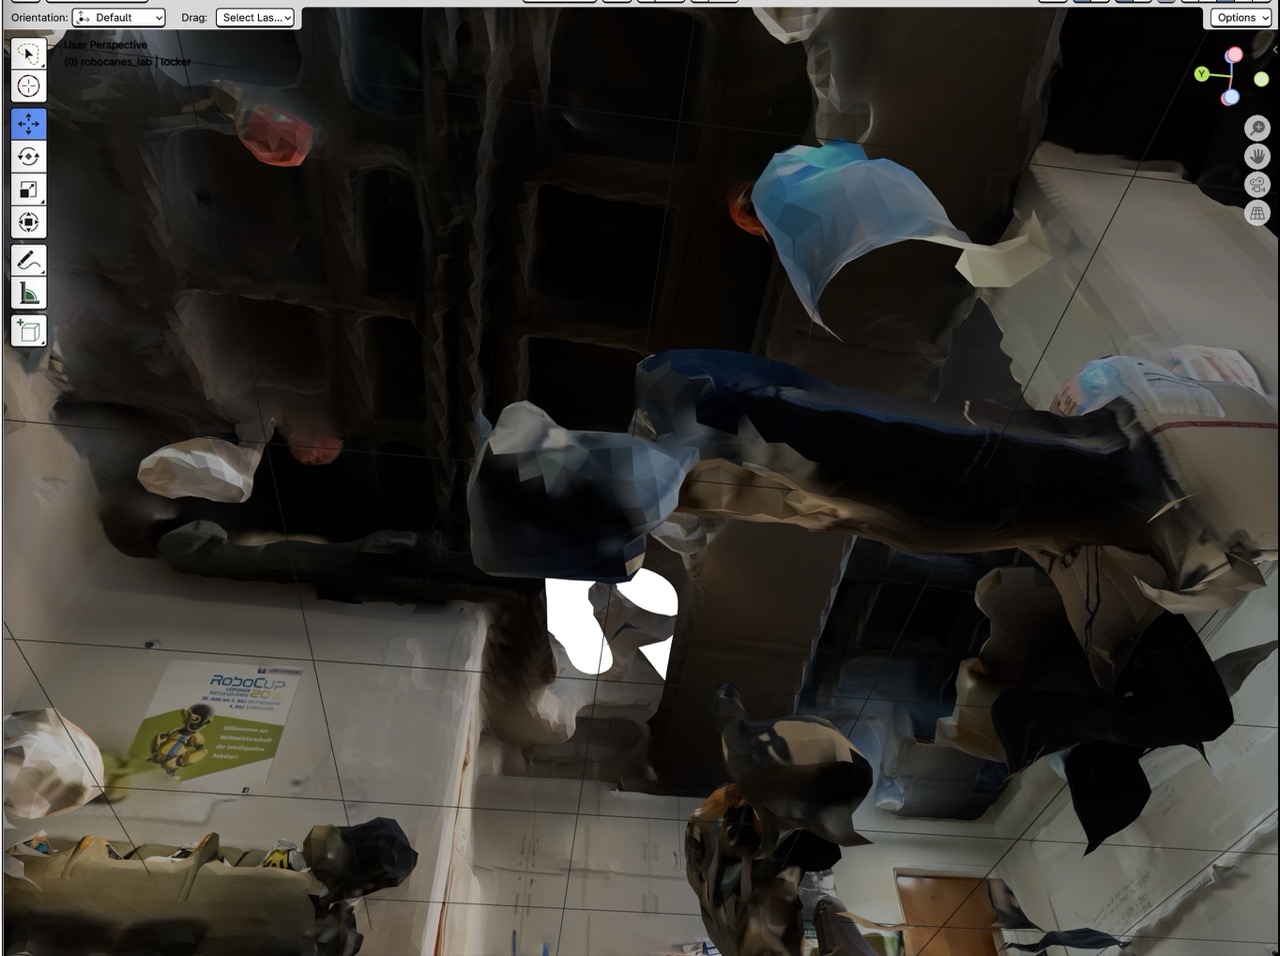
Polycam's LiDAR capture on a phone gave me a scan of the whole lab in minutes instead of hours of measuring each piece of furniture and equipment, which left the time for modeling and detail work.
Phase 1: Remodeling and Texturing
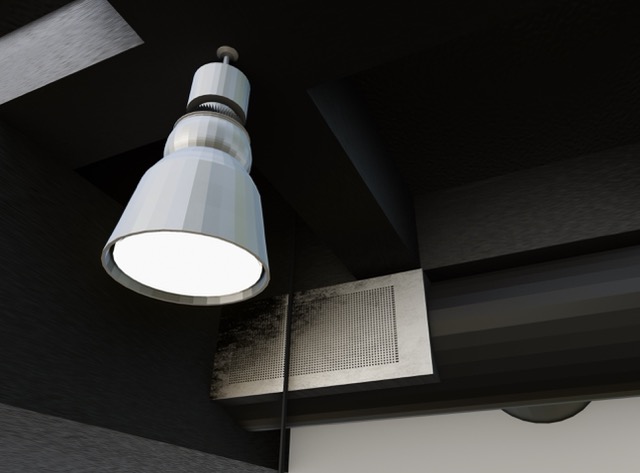
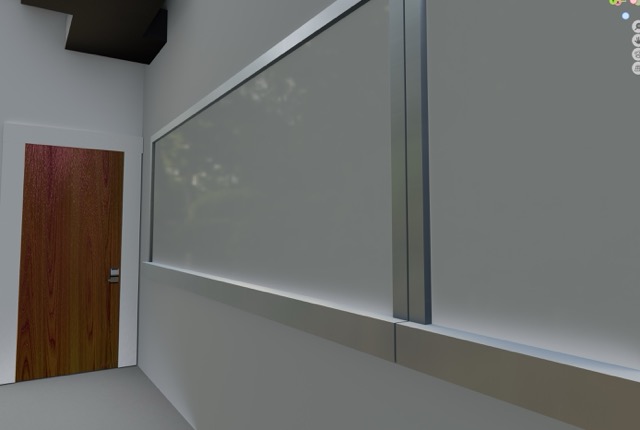
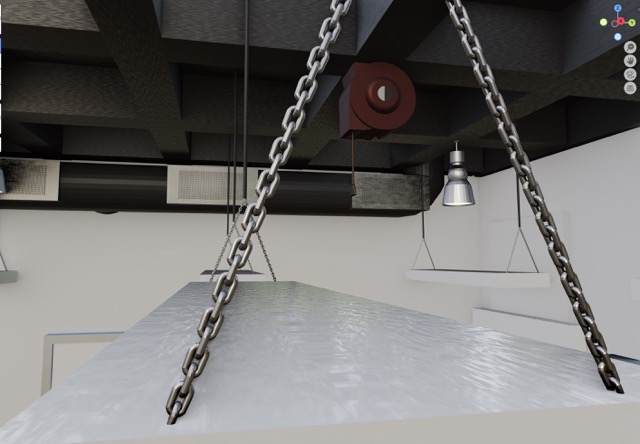
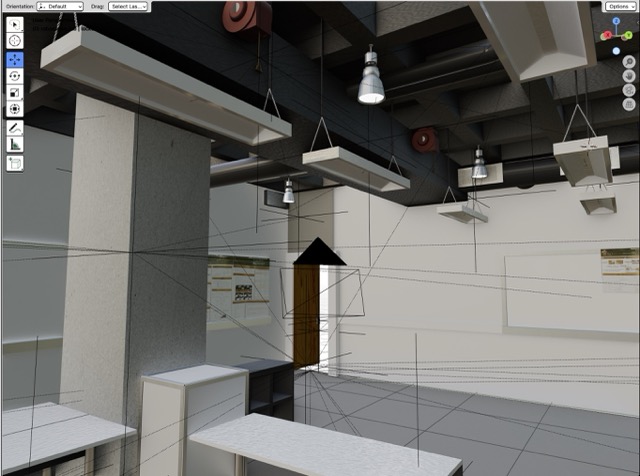
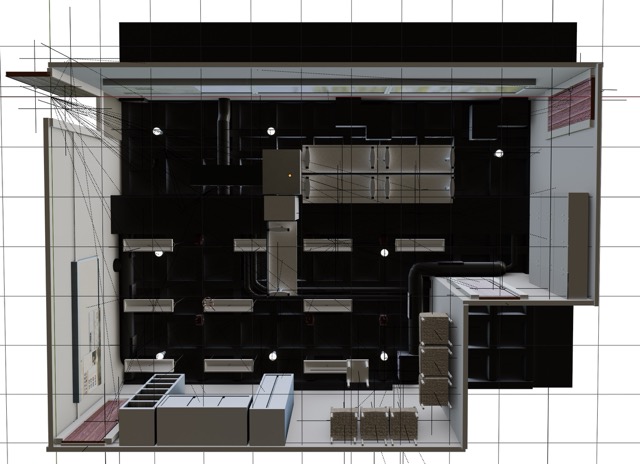
I brought the scans into Blender as reference geometry and remodeled the lab over them, refining the areas the scan captured poorly. Wall, floor, furniture, and equipment textures came from Poliigon.
Phase 1: Finishing the Environment
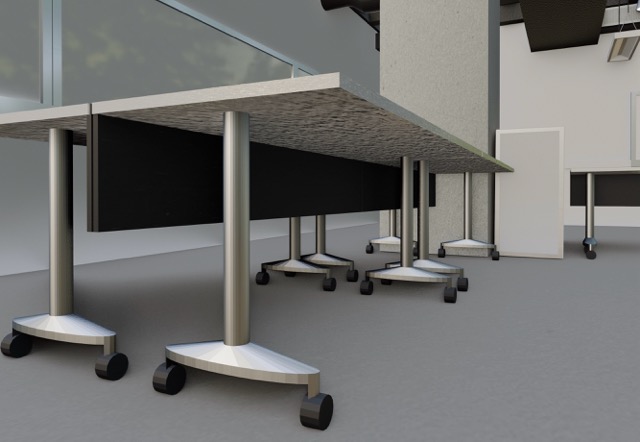
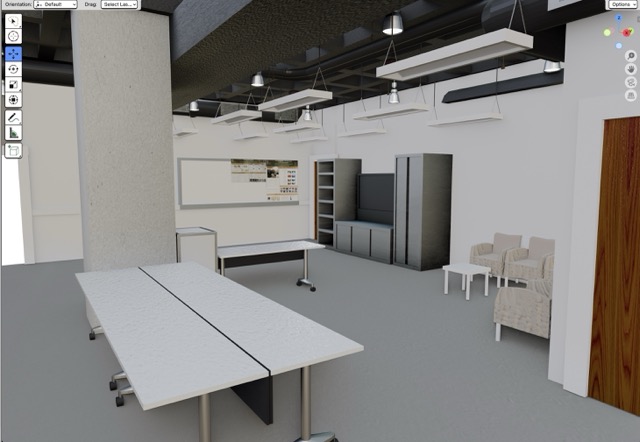
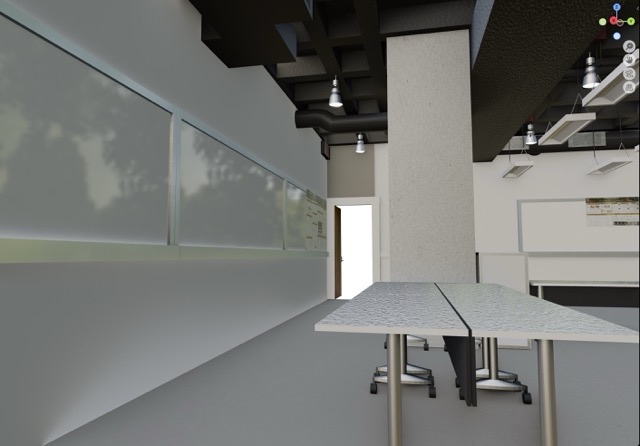
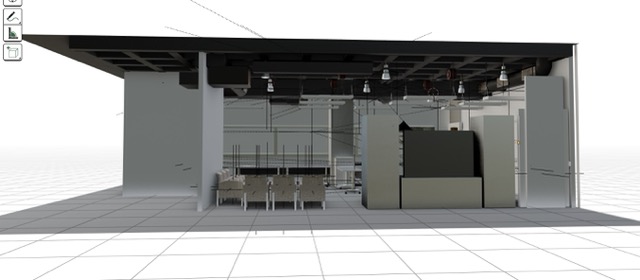
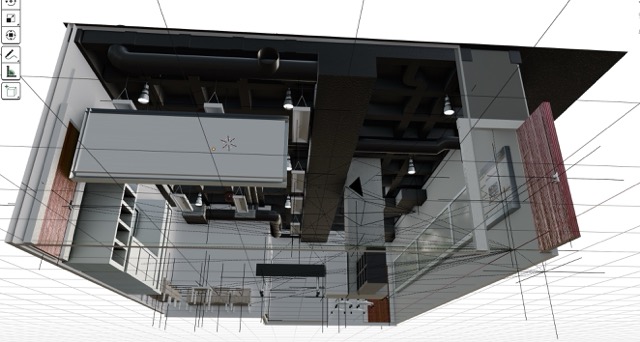
To finish phase 1, I added props and refined the composition.
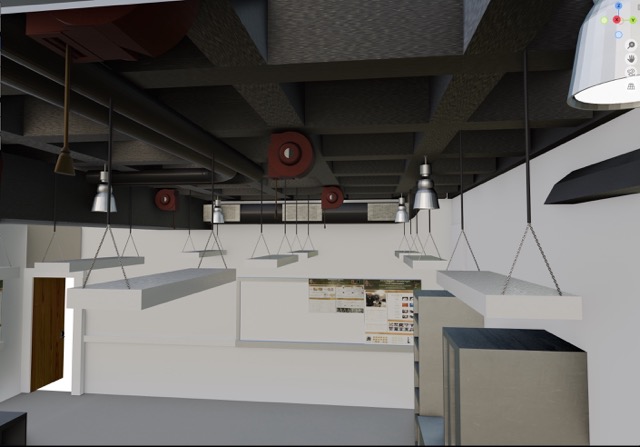
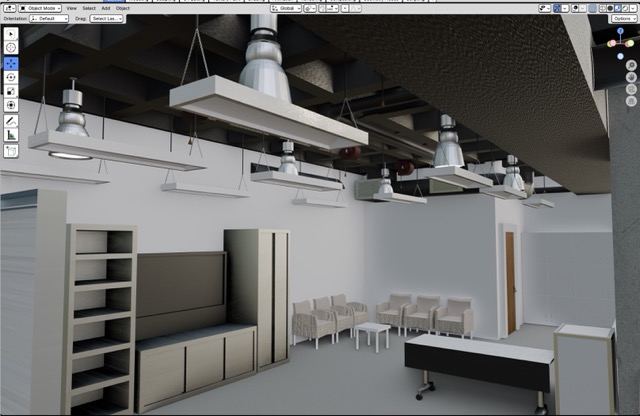
Phase 2: Full-Lab Scan
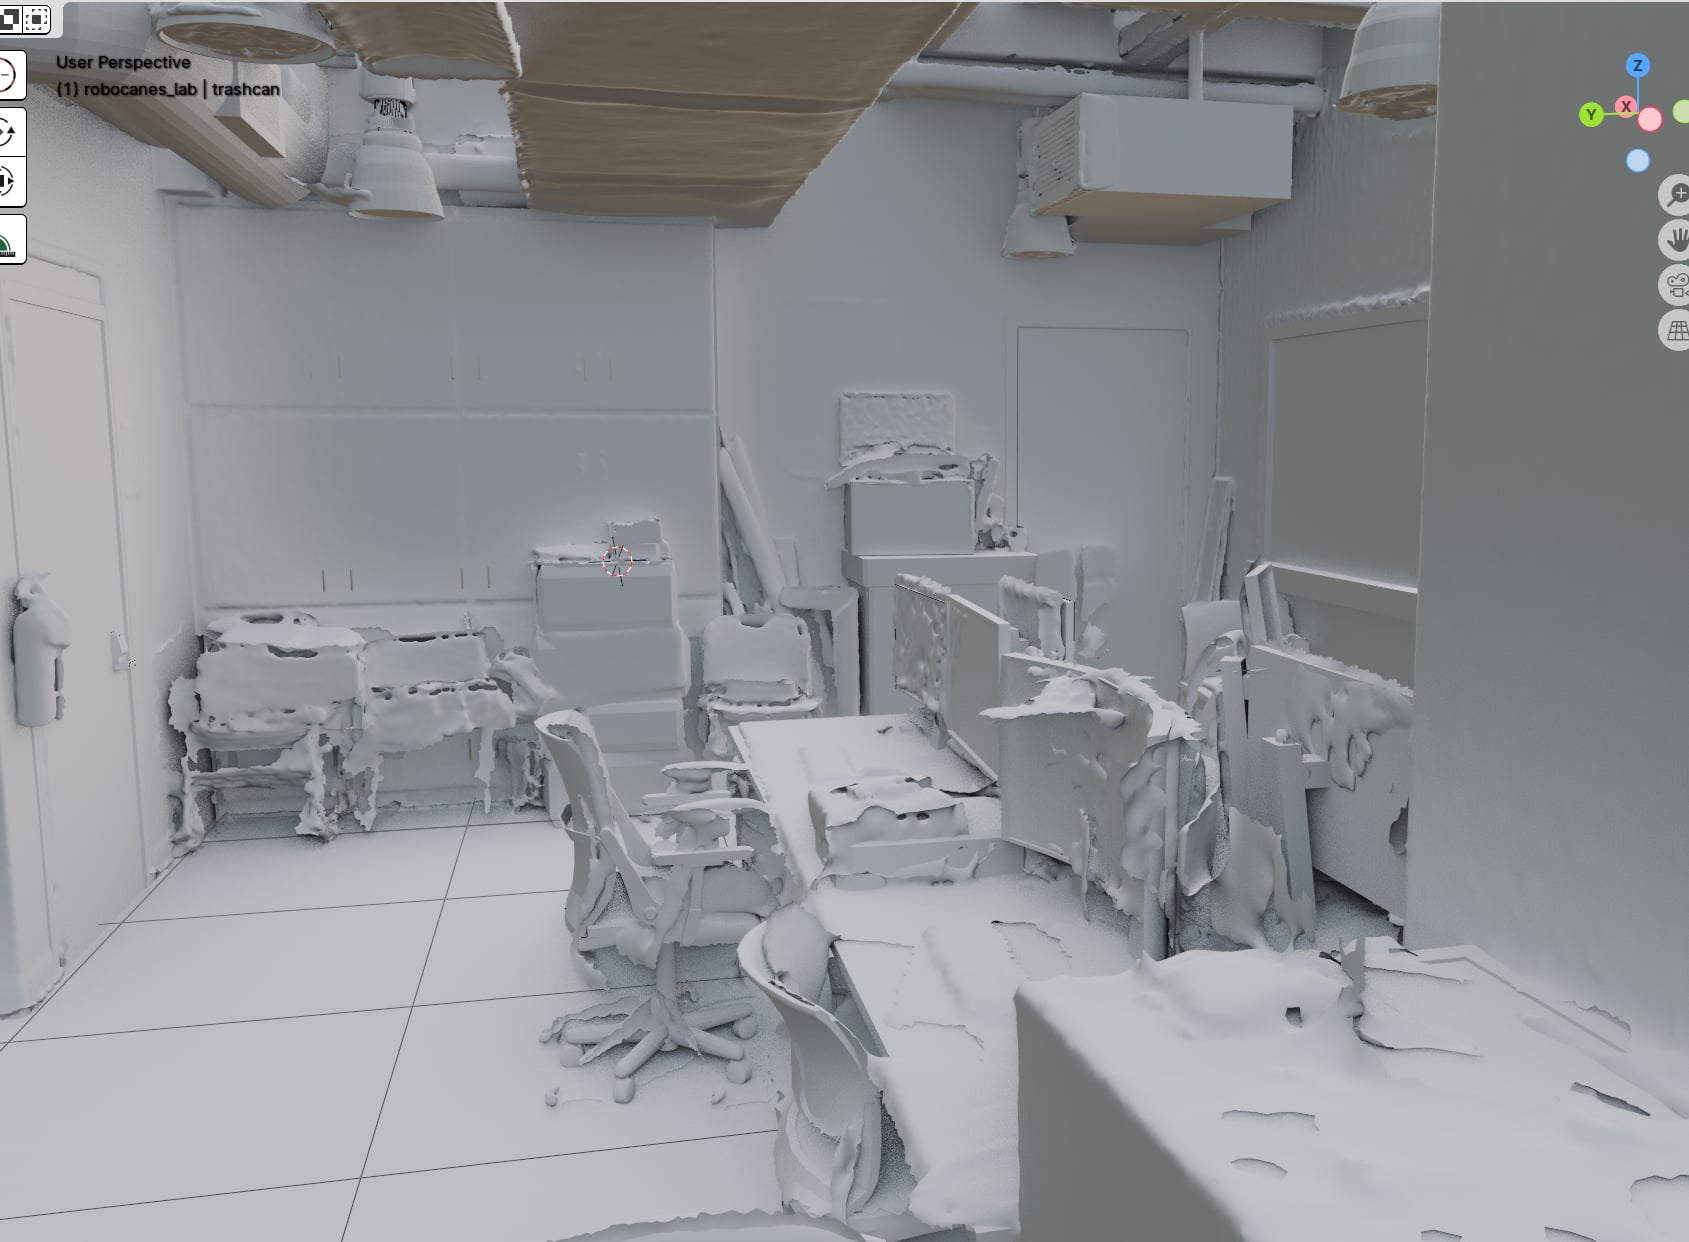
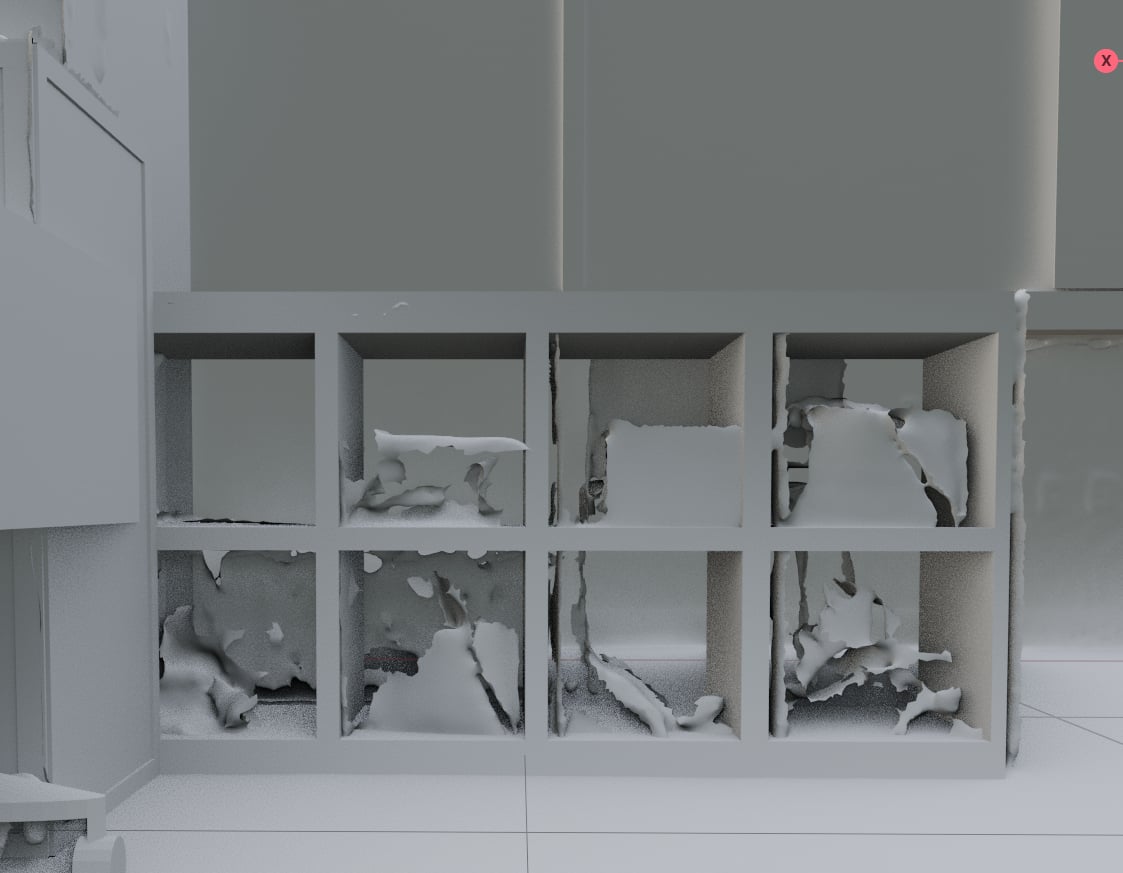
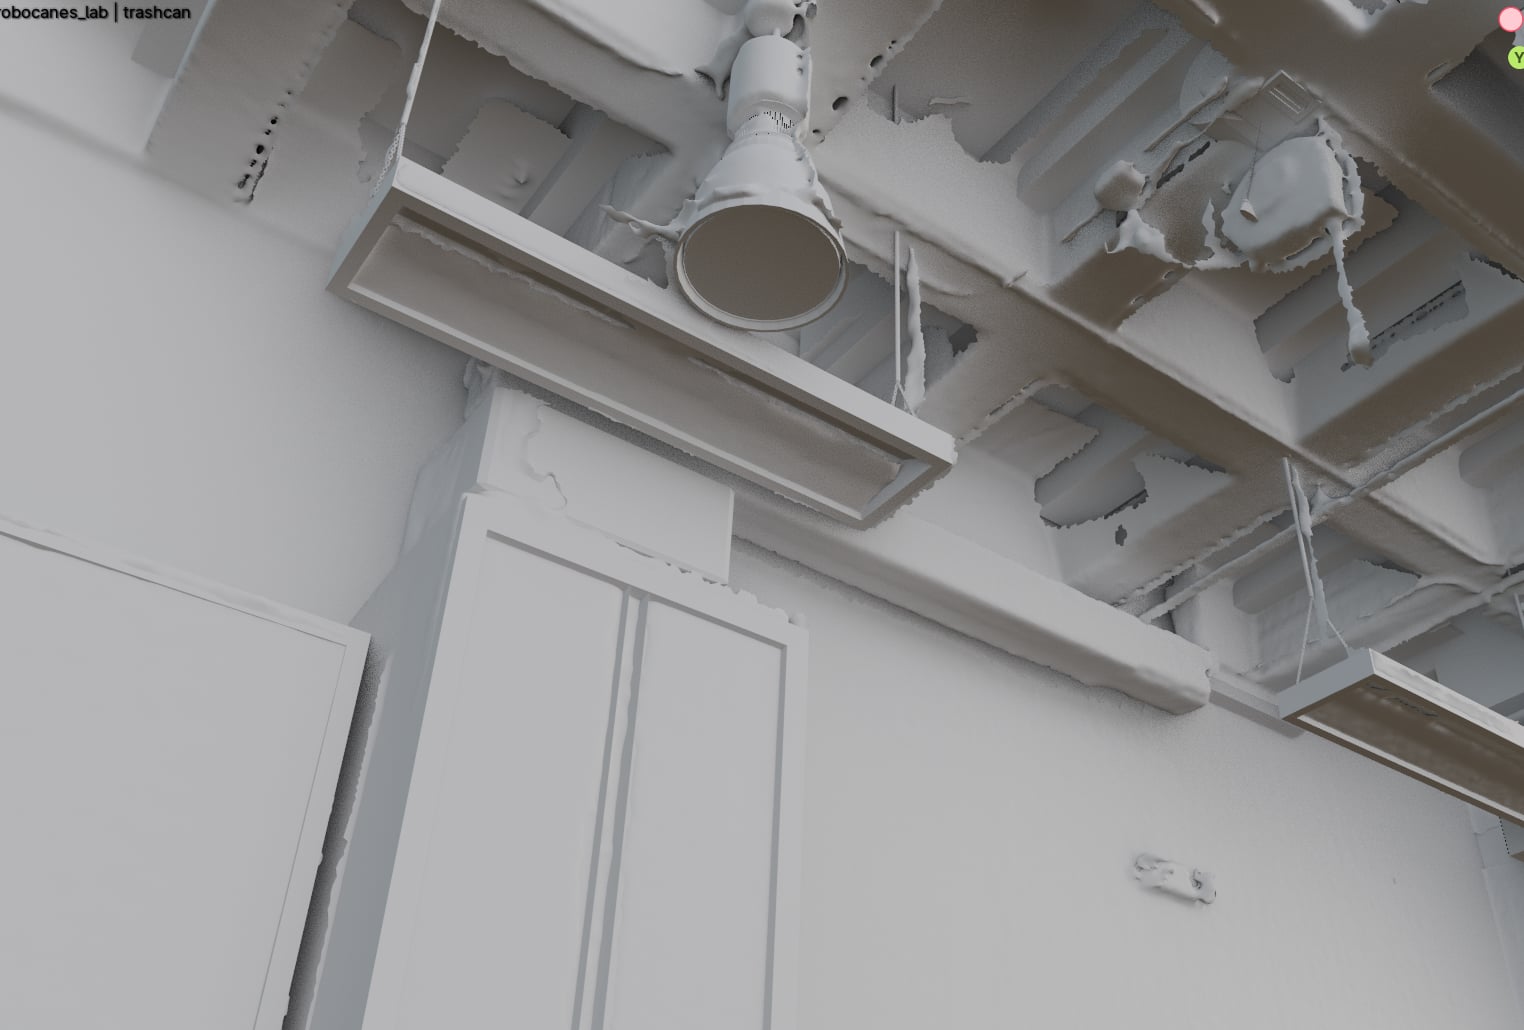
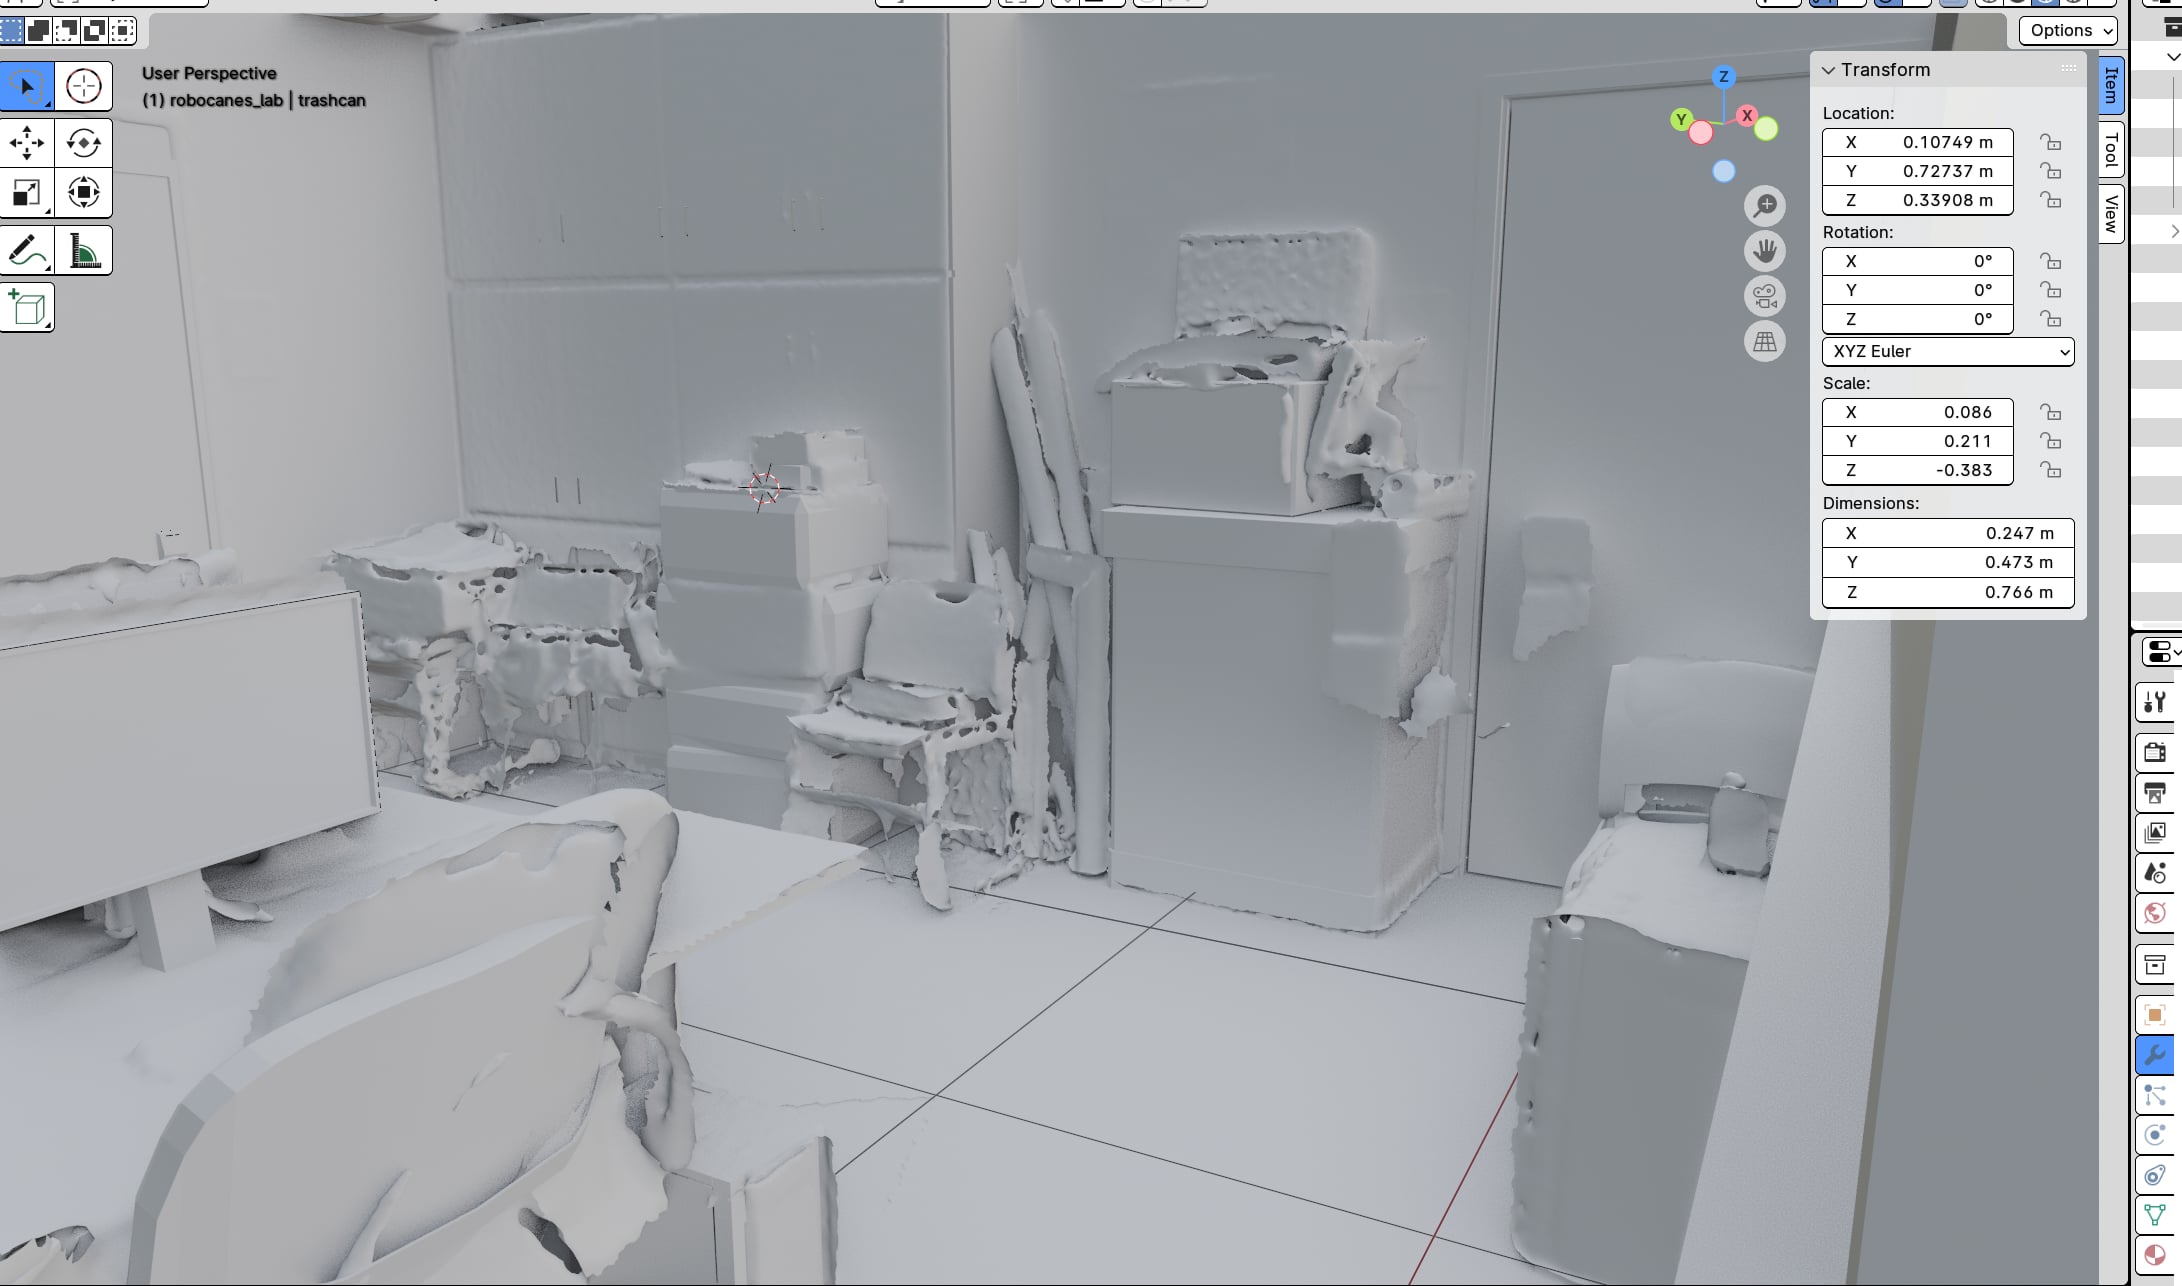
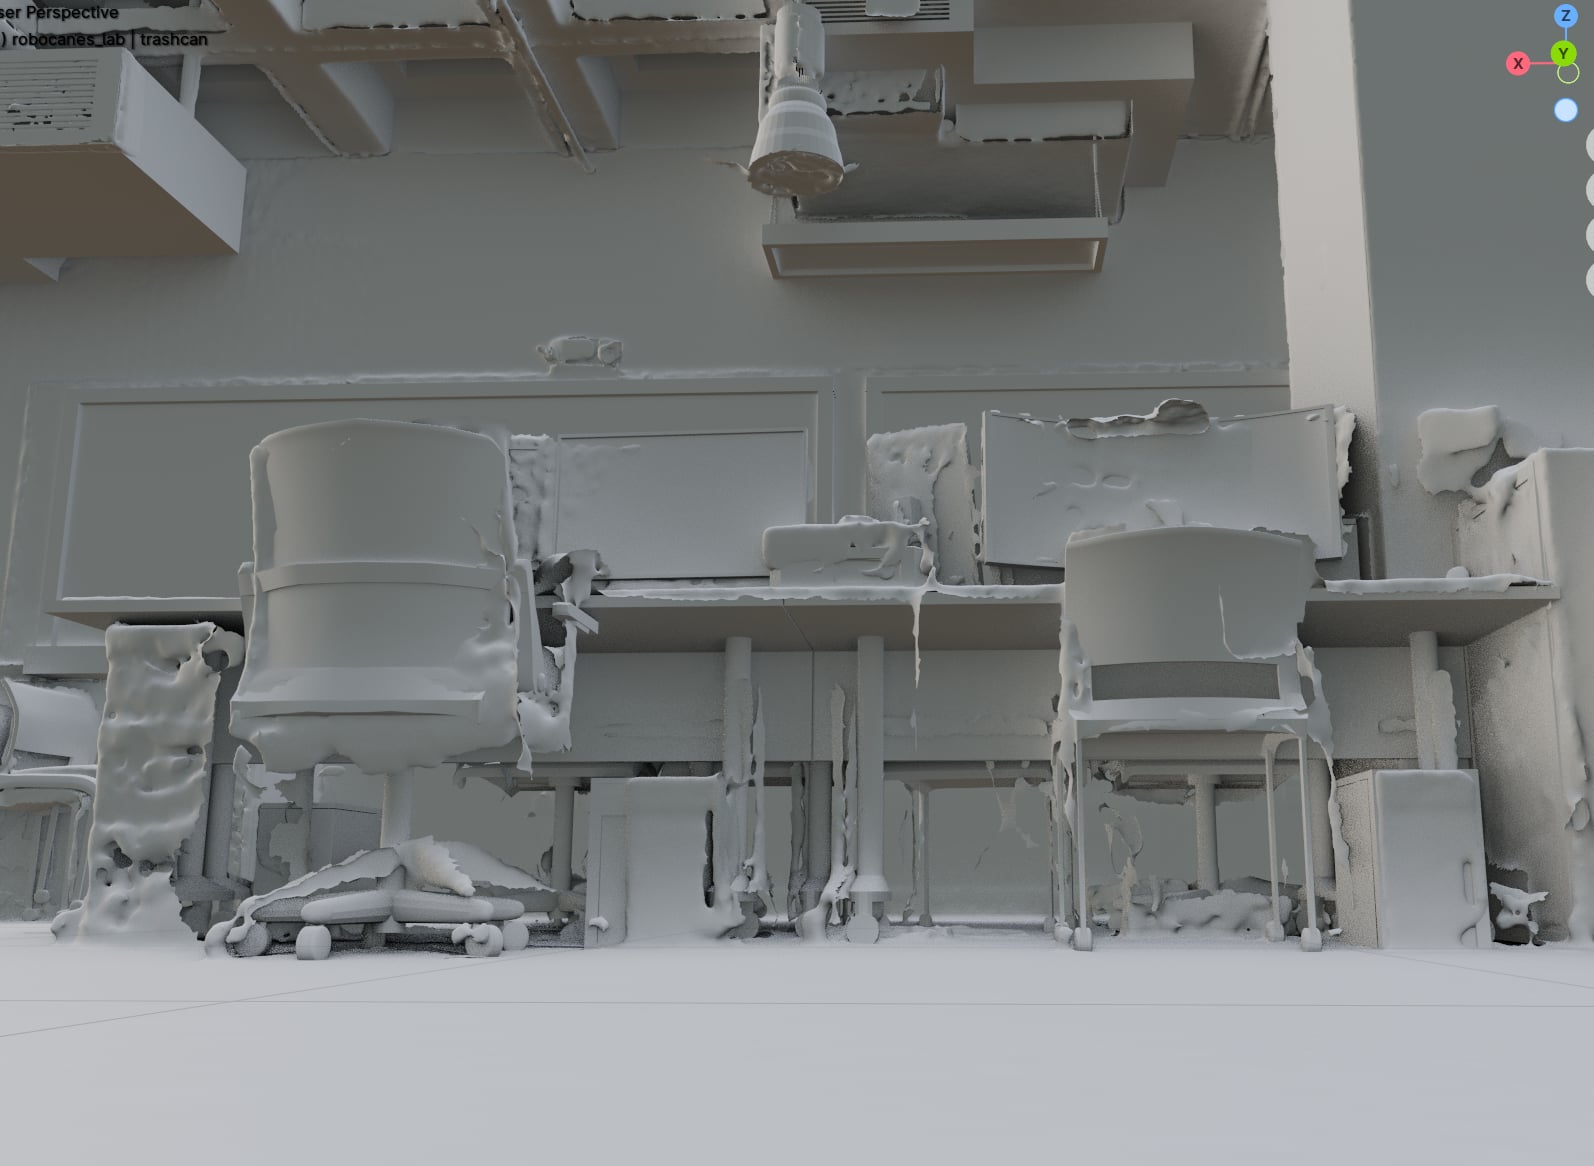
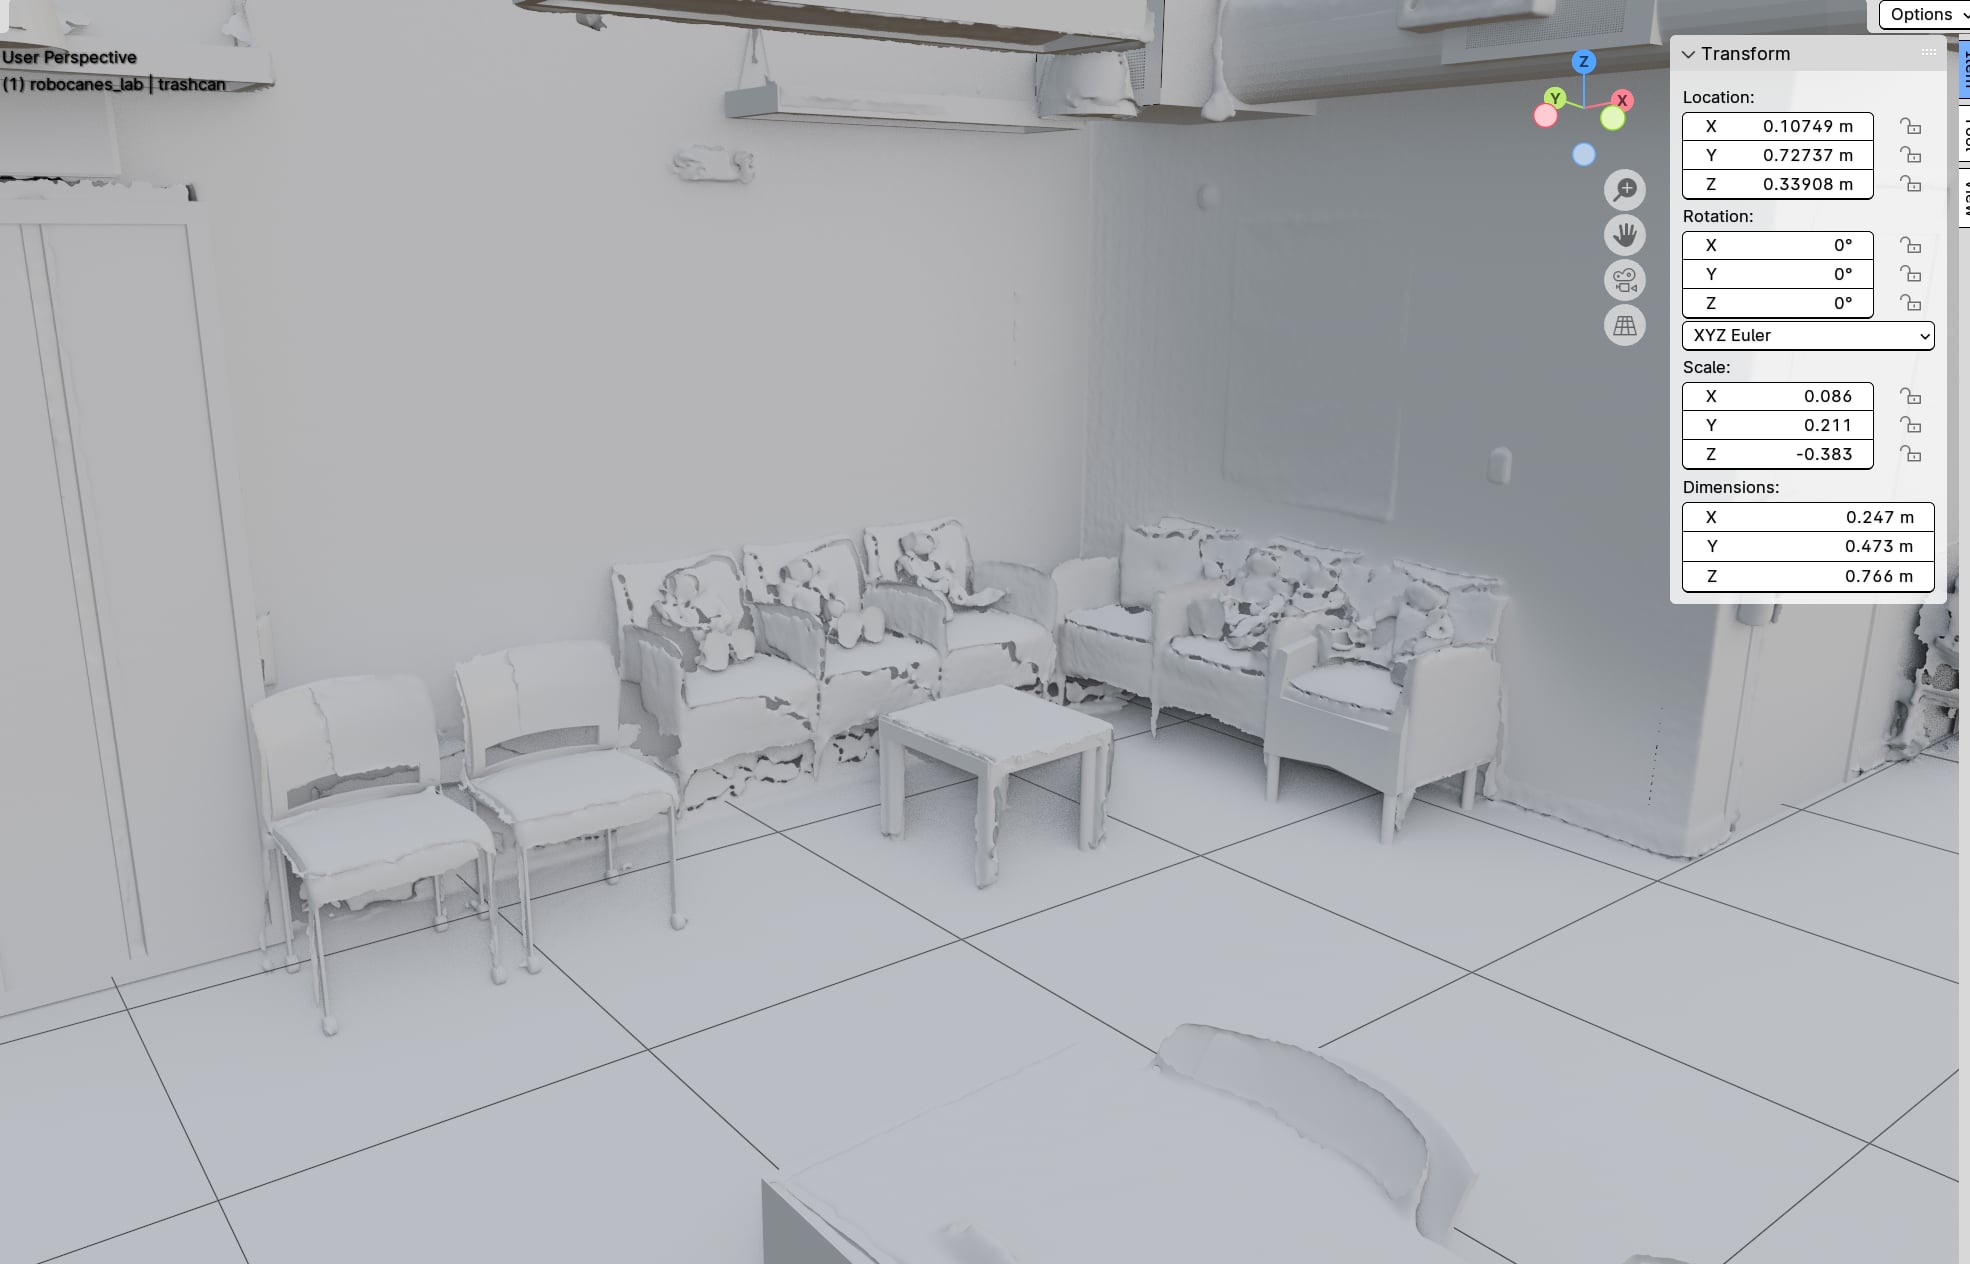
My phase 1 scans showed what photogrammetry could do for this project, and the lab followed up with a high-resolution scan of the entire lab captured with dedicated photogrammetry equipment. That scan became the base for phase 2.
Phase 2: Rebuilding from the Scan
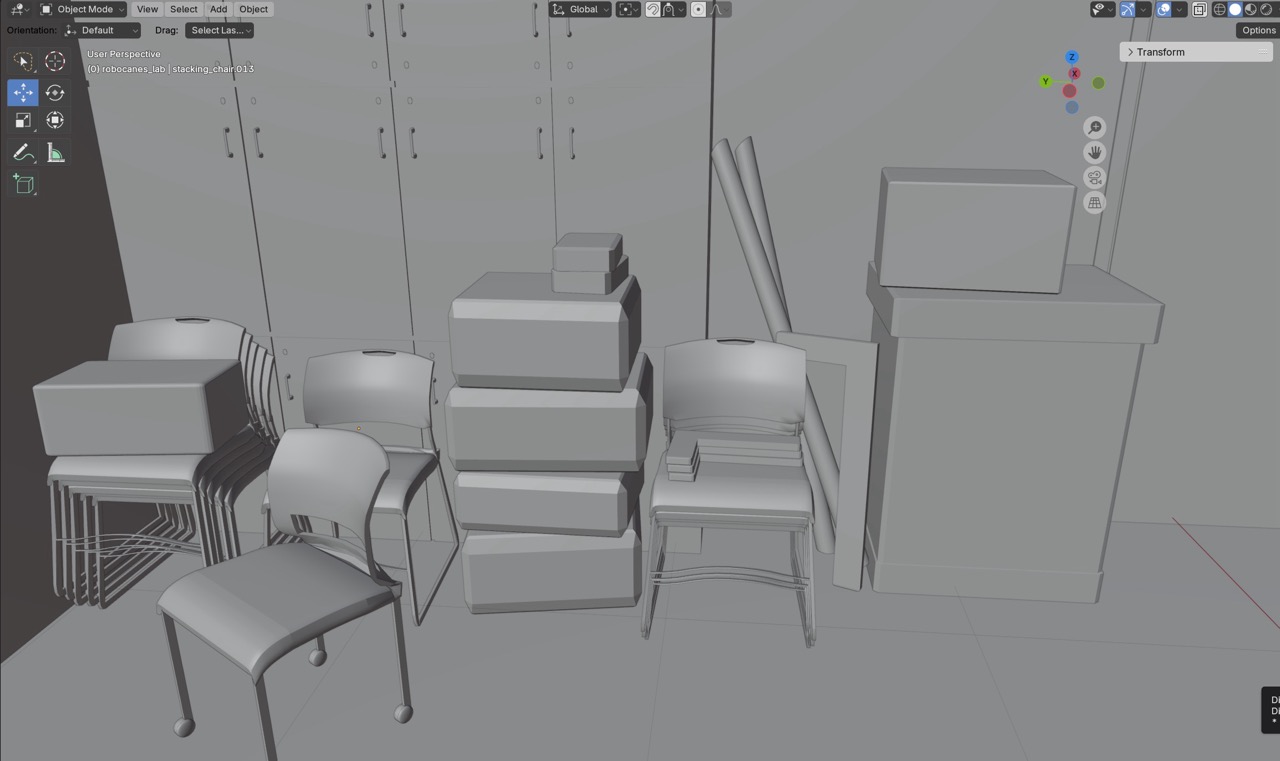
Working from the full scan, I remodeled the lab in Blender: cleaning up the mesh, rebuilding geometry, and optimizing it so the environment stays usable in real time.
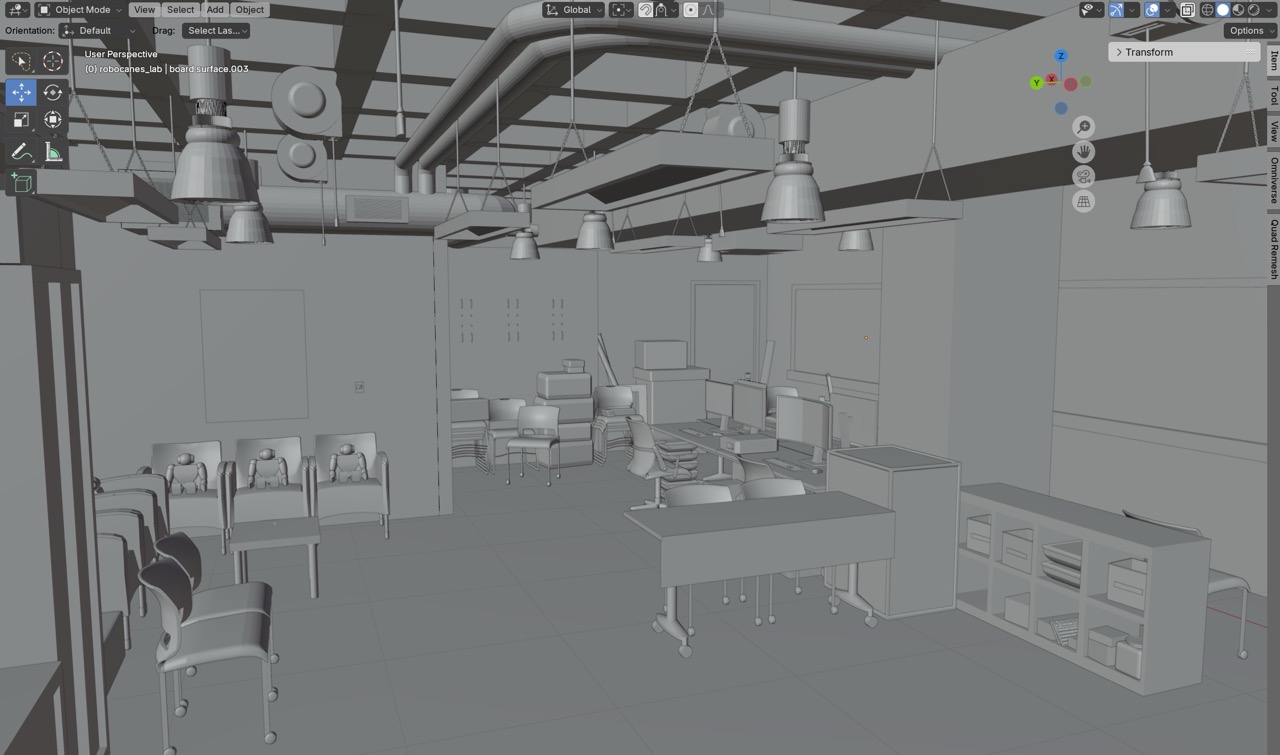
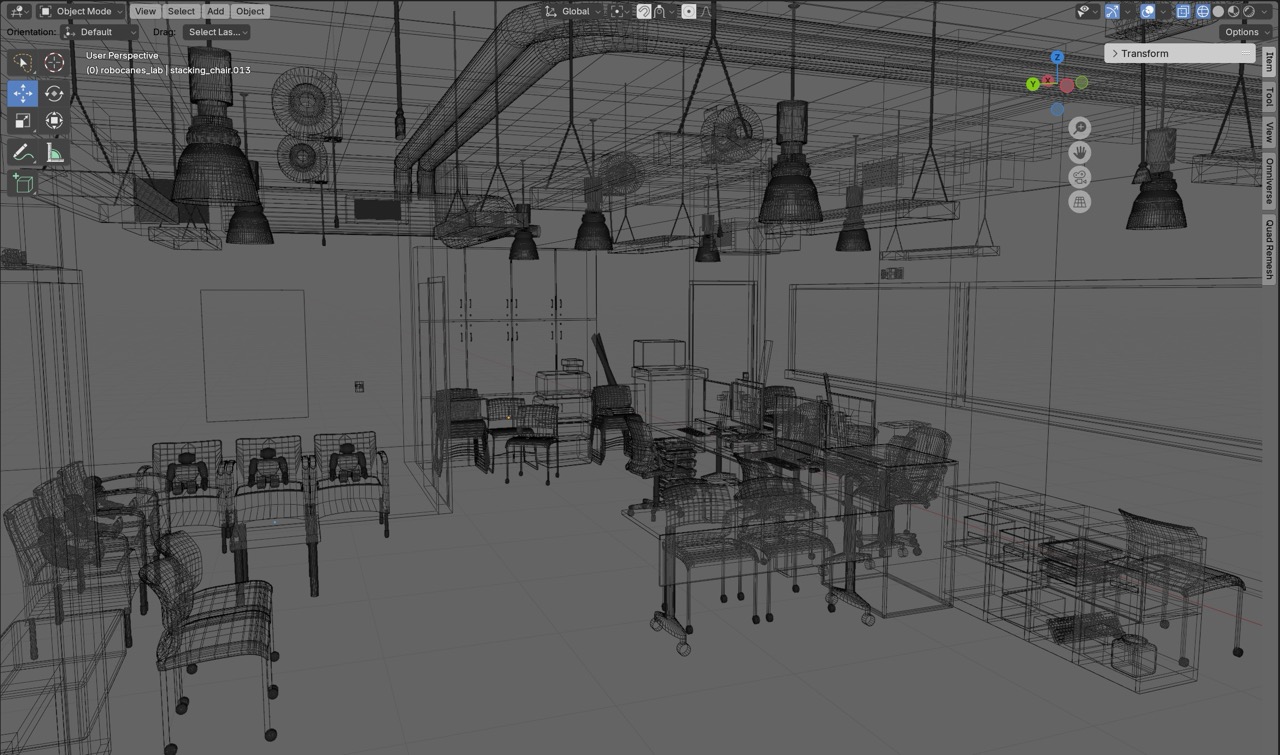
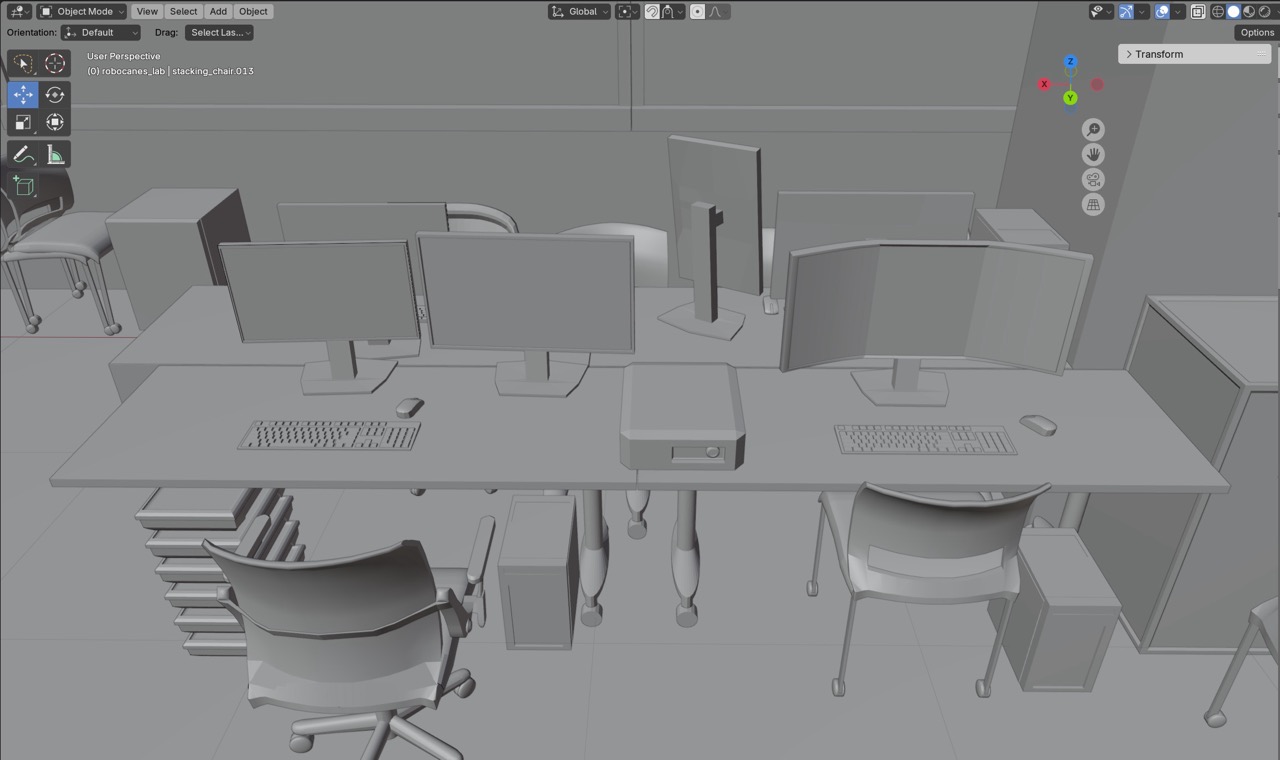
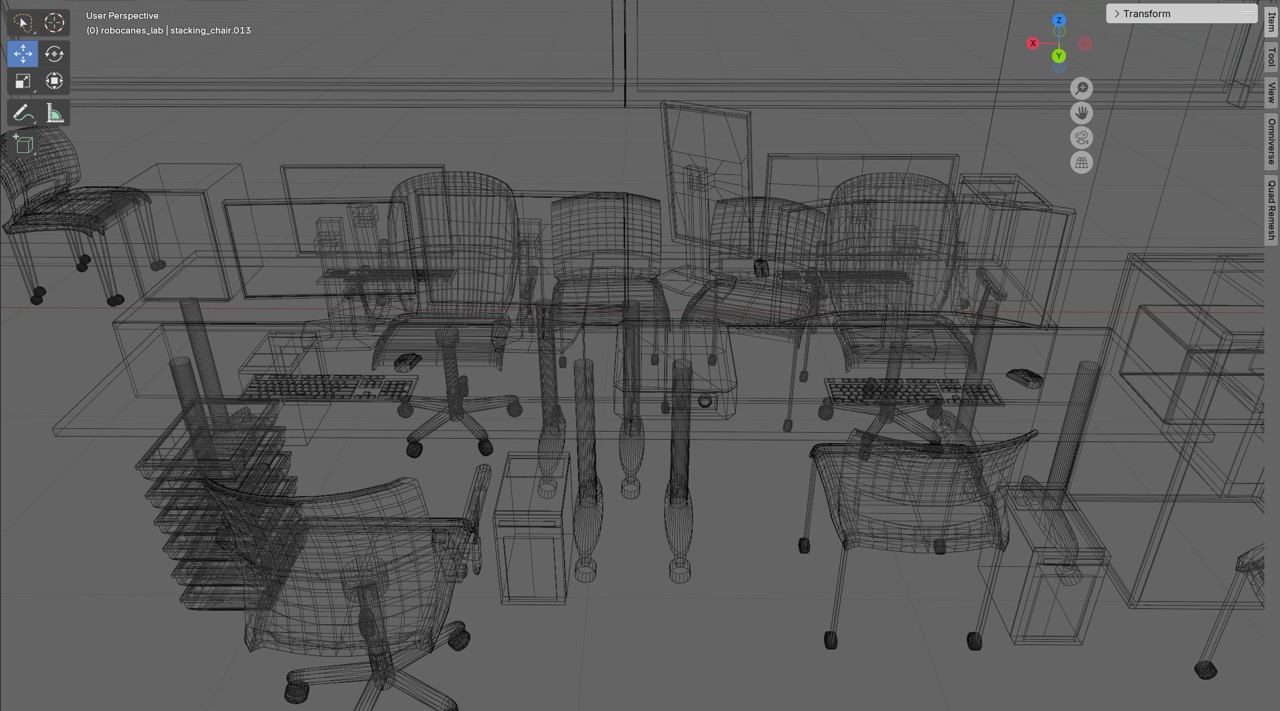
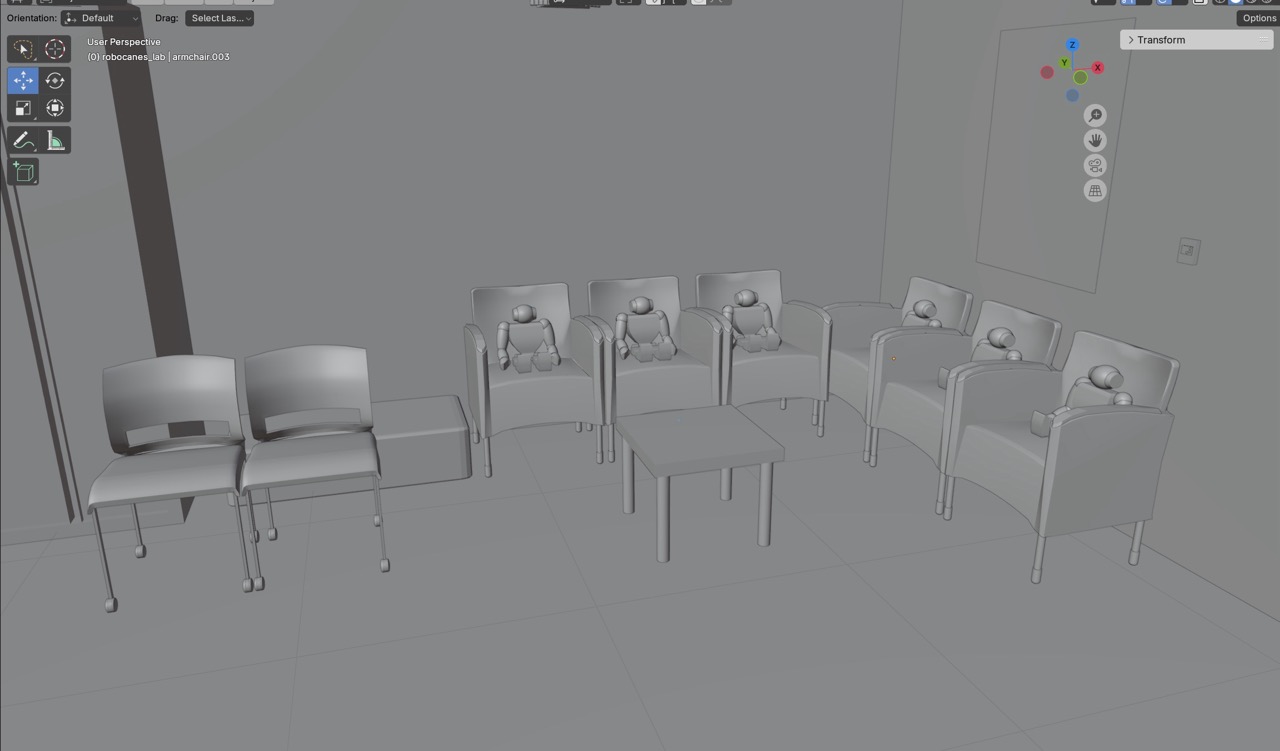
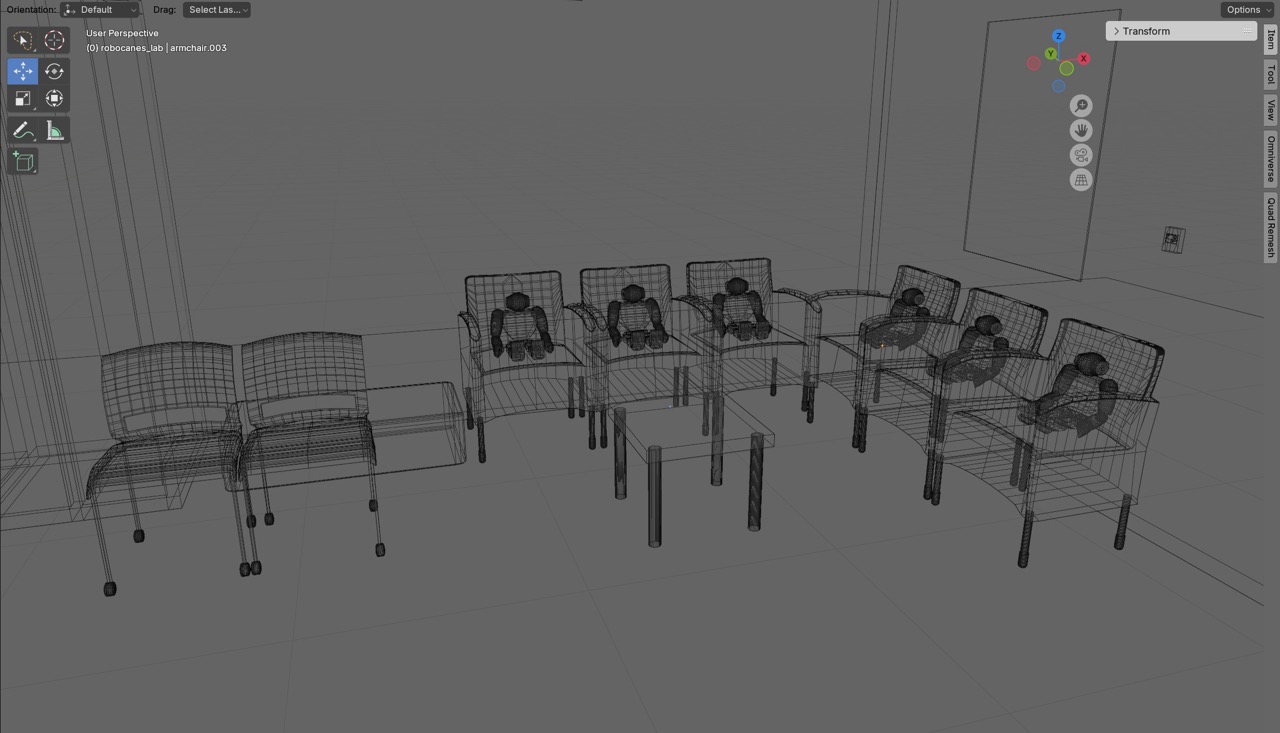
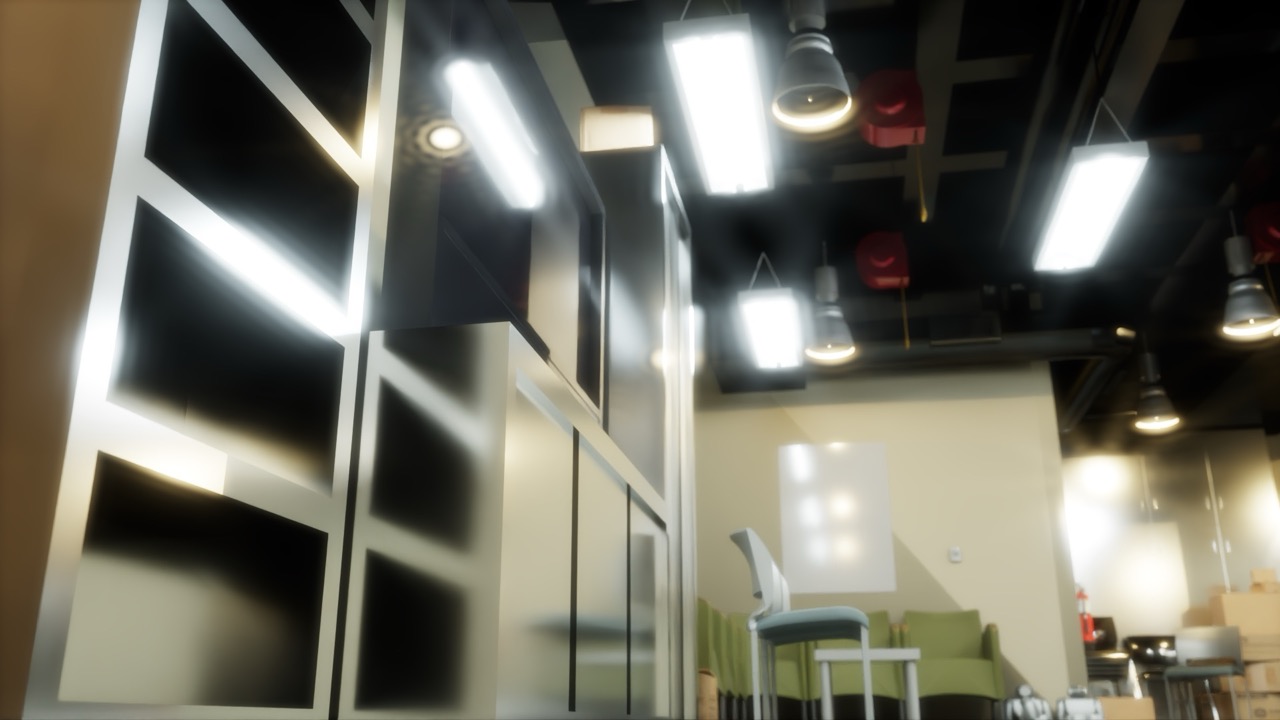
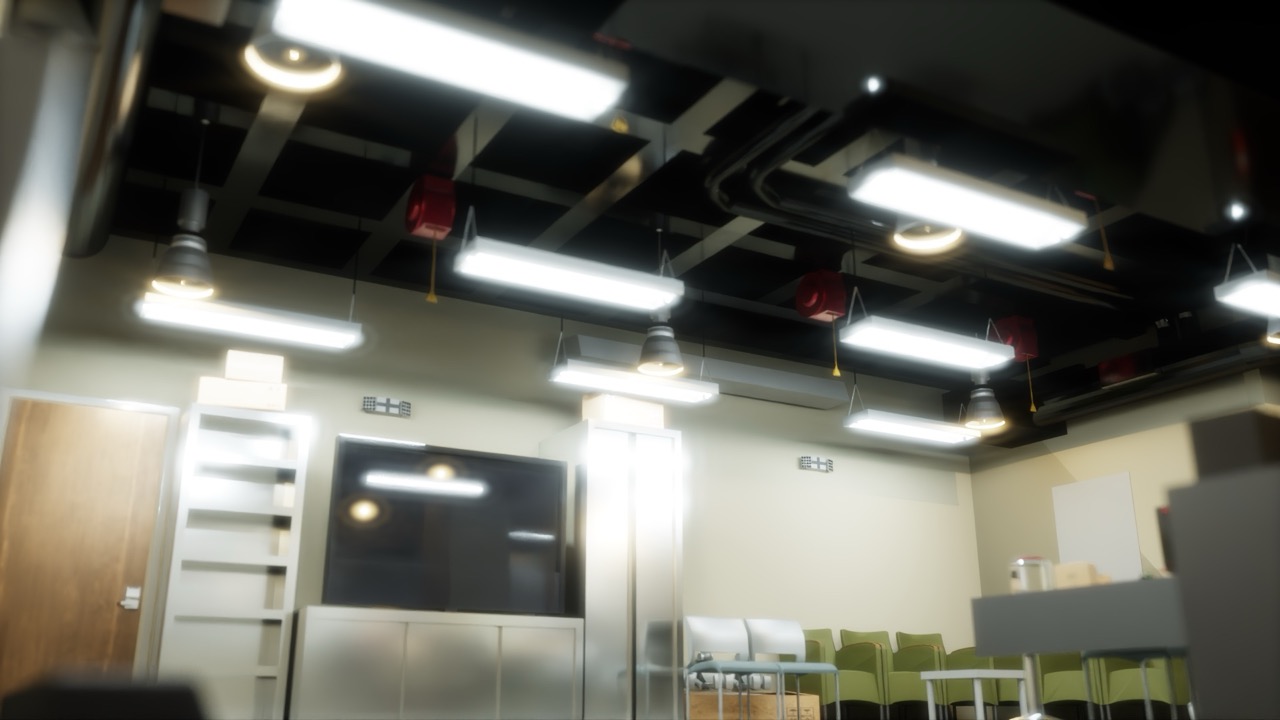
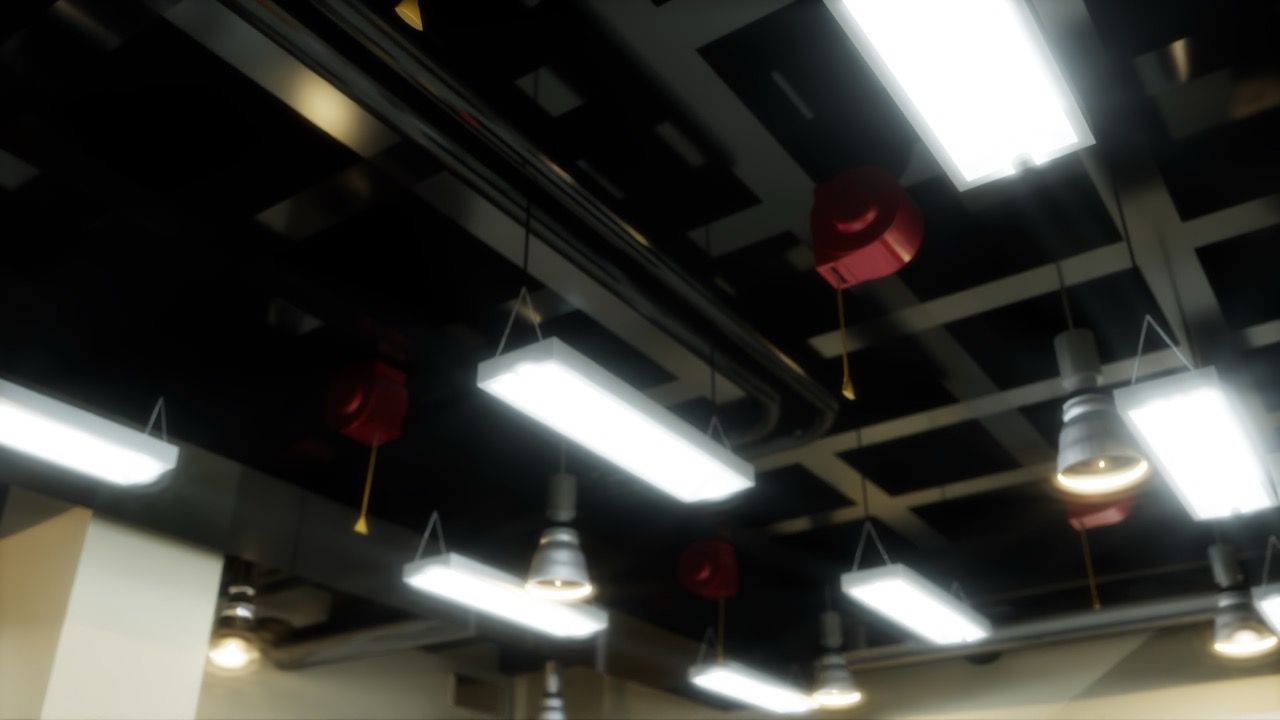
In USD Composer I tuned the materials, such as the metallic sheen on equipment and the finish of walls and floors, and matched the lighting to the real lab's fixtures.
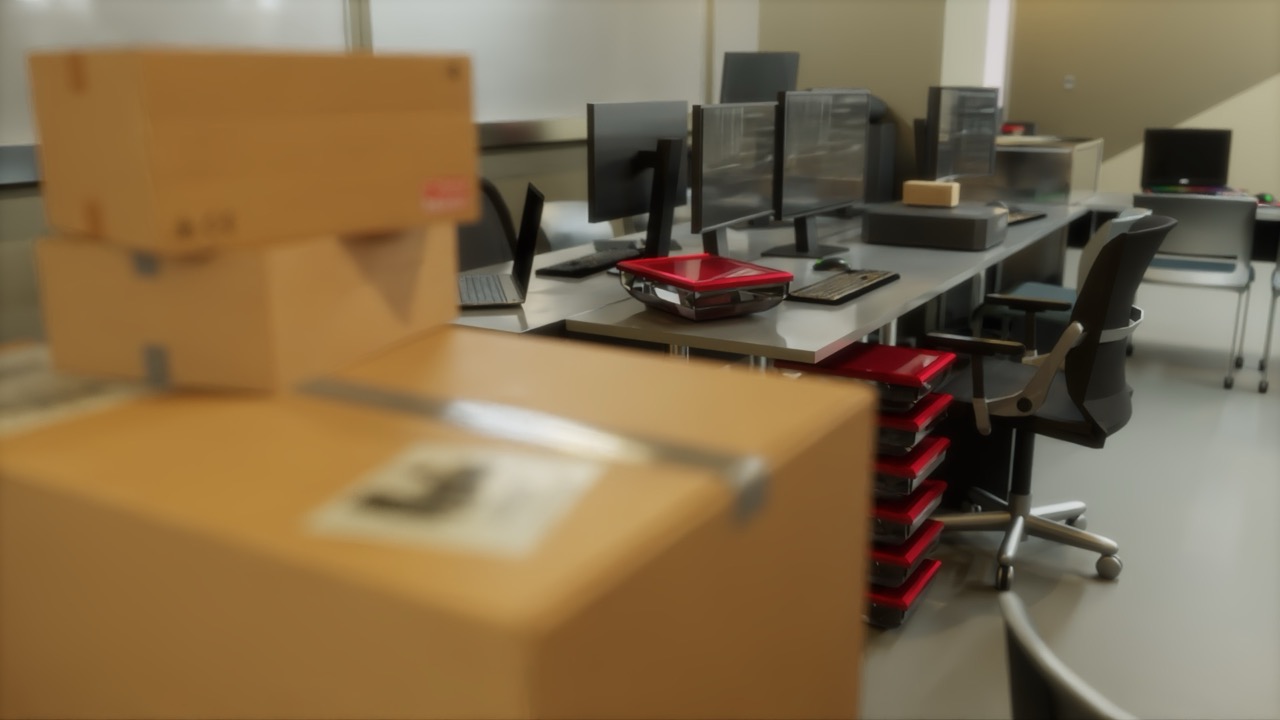
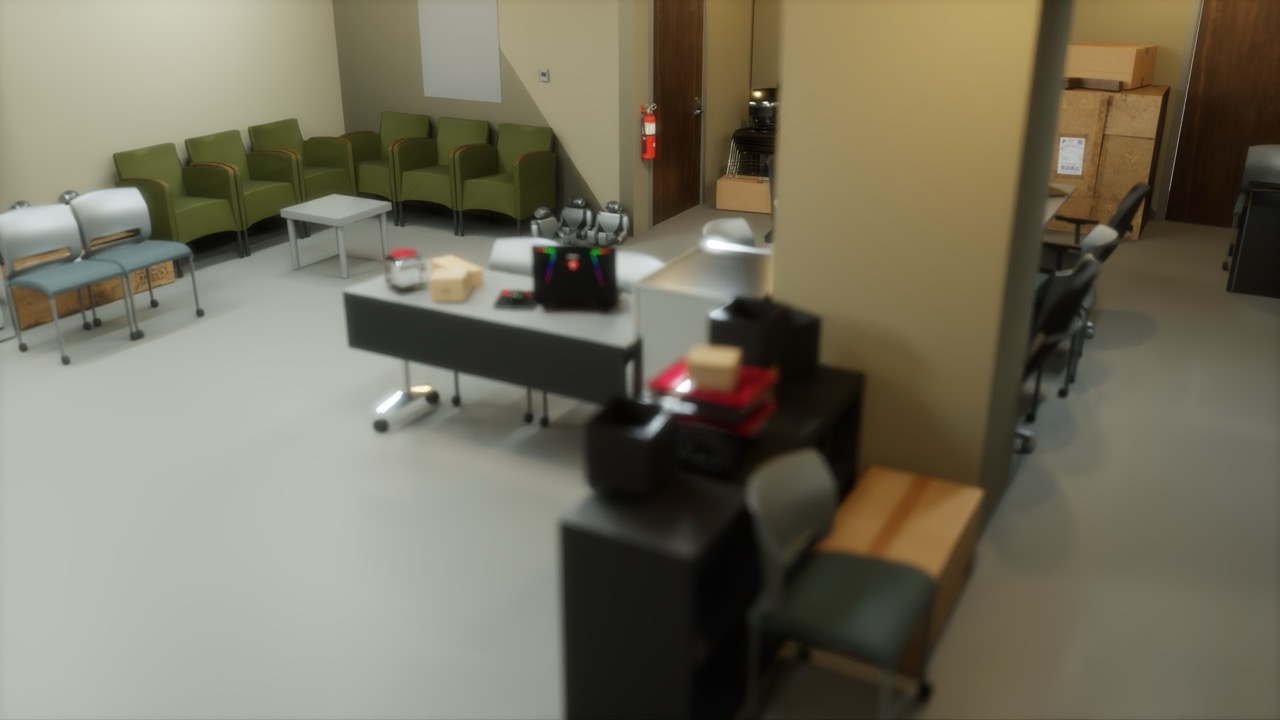
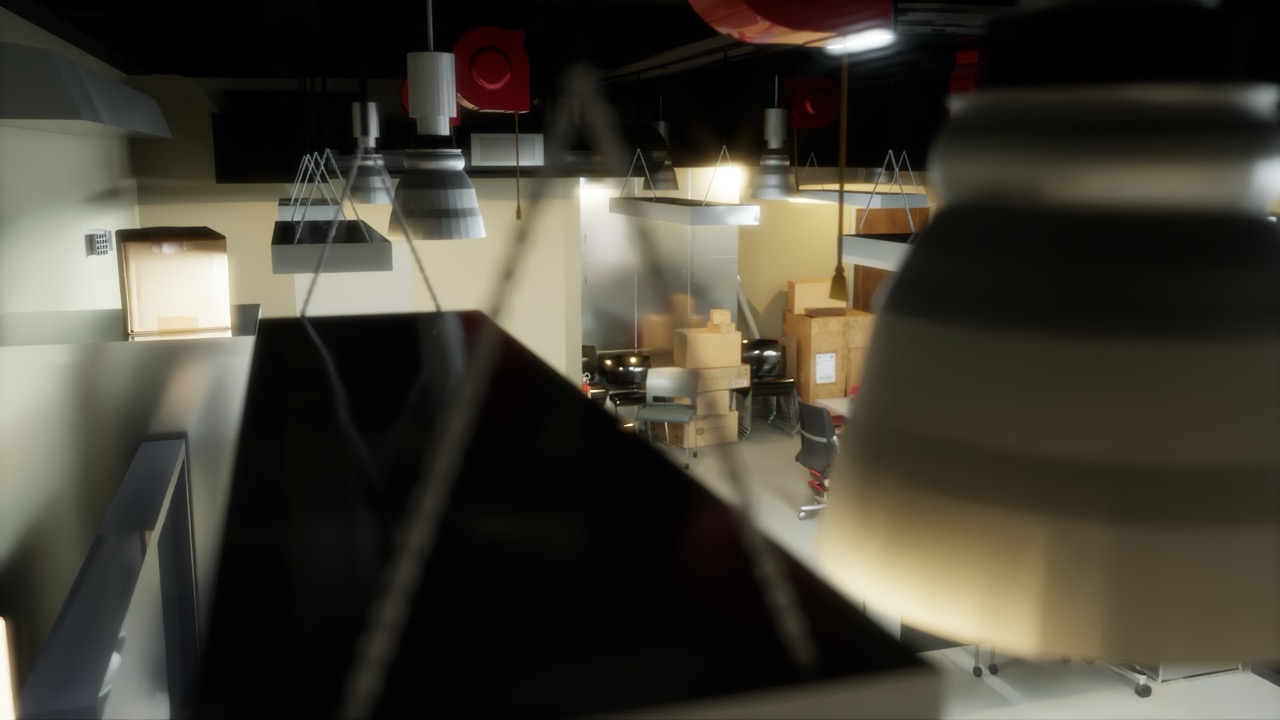
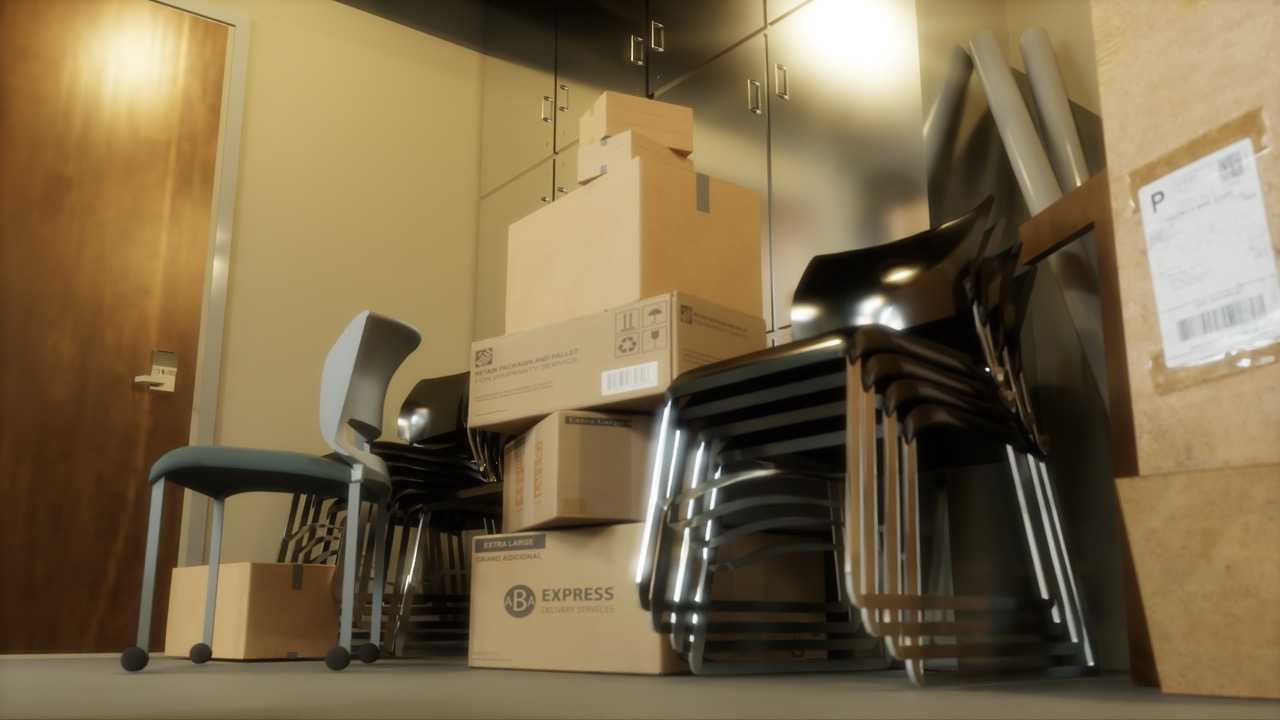
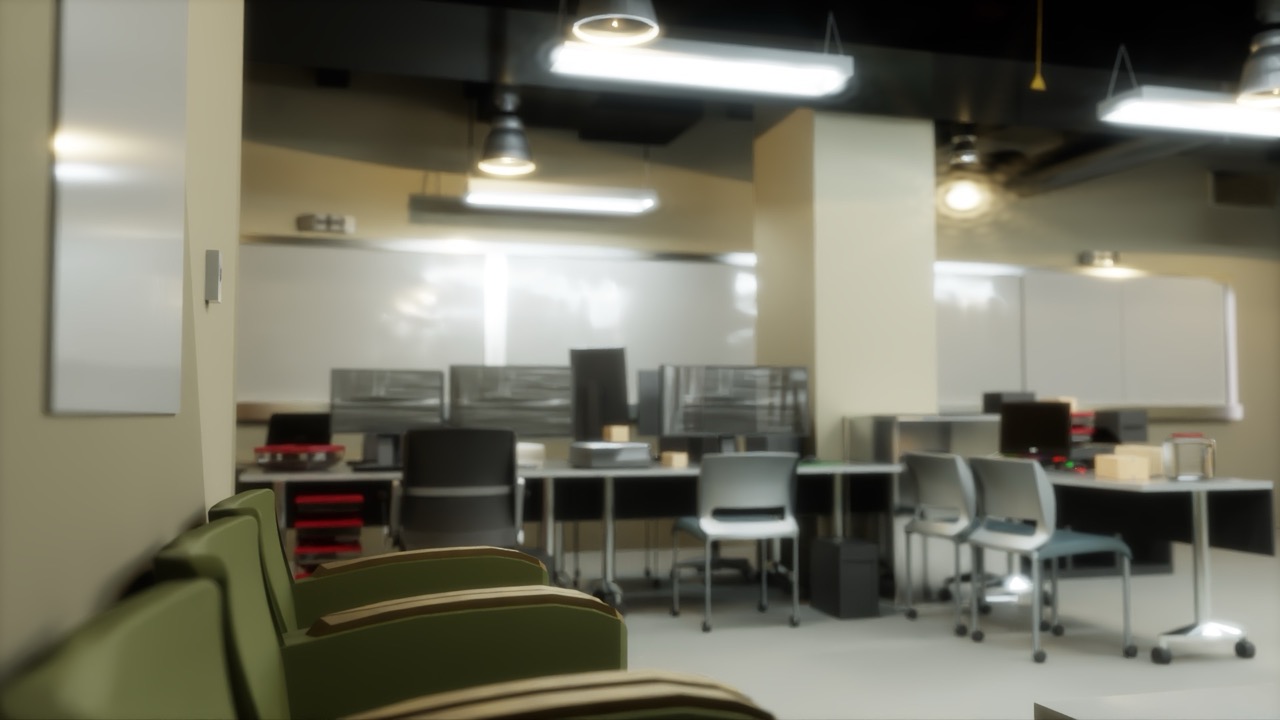
Phase 2: Final Renders
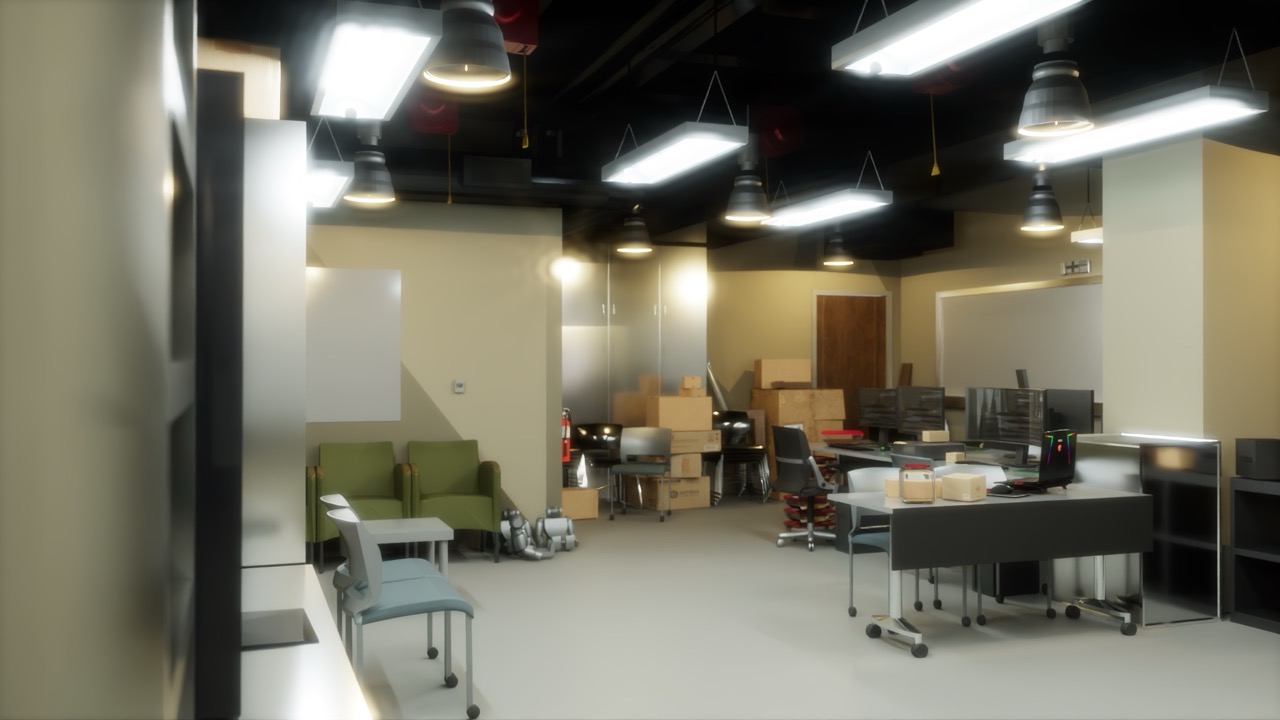
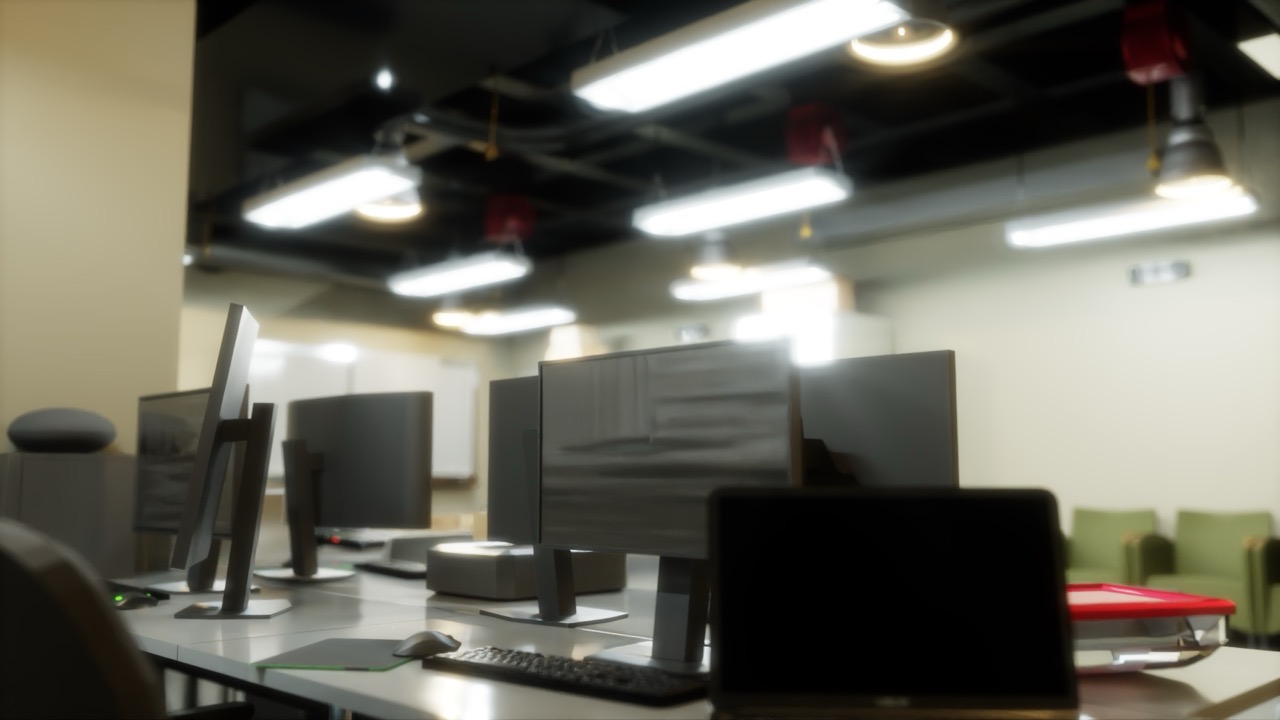
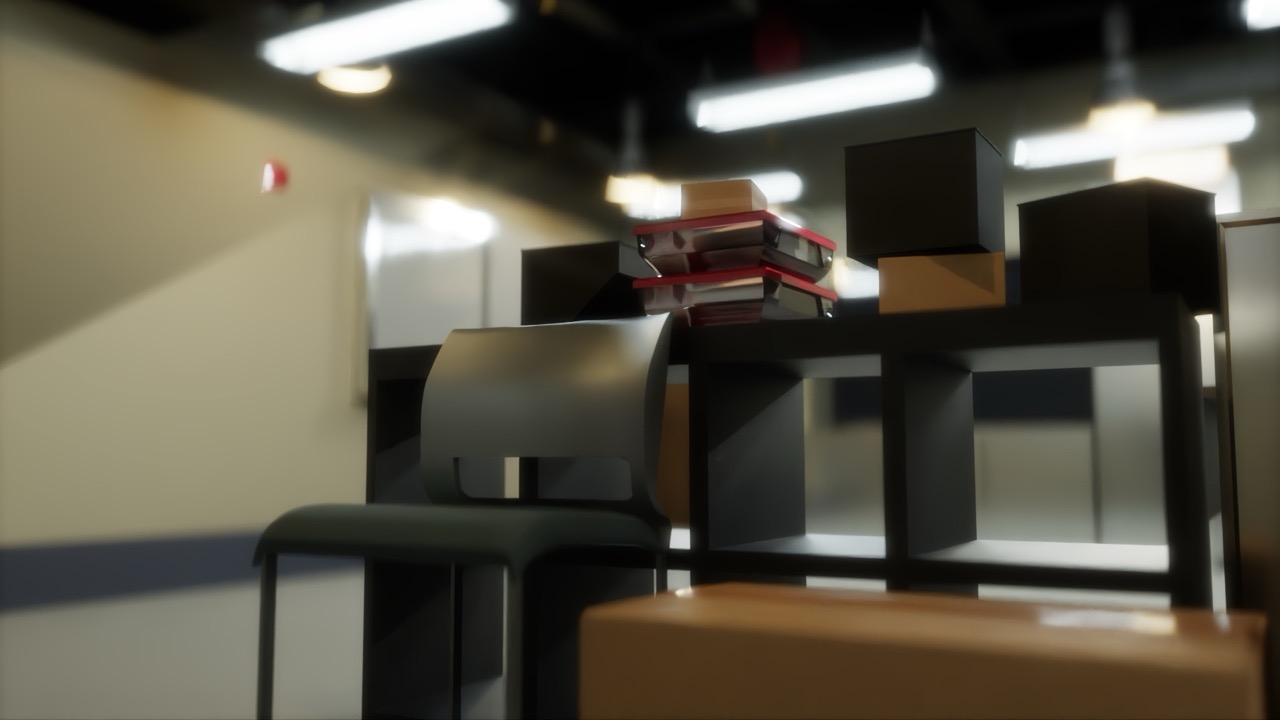
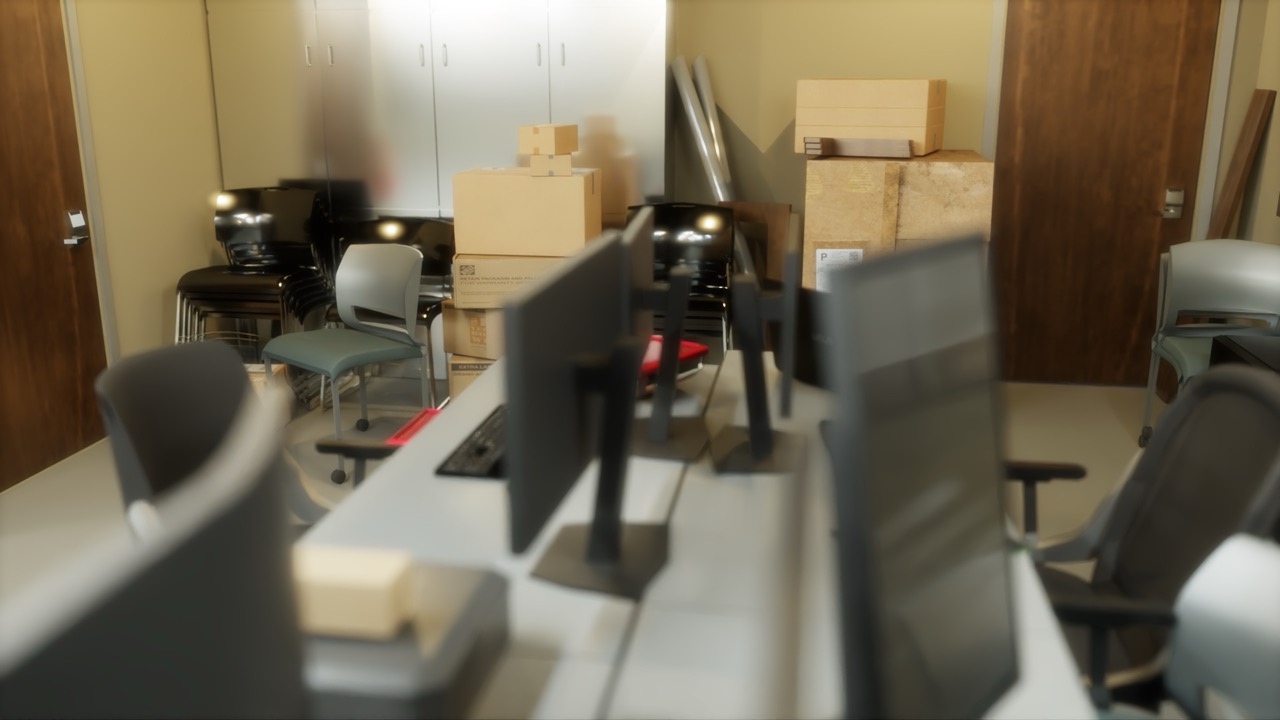
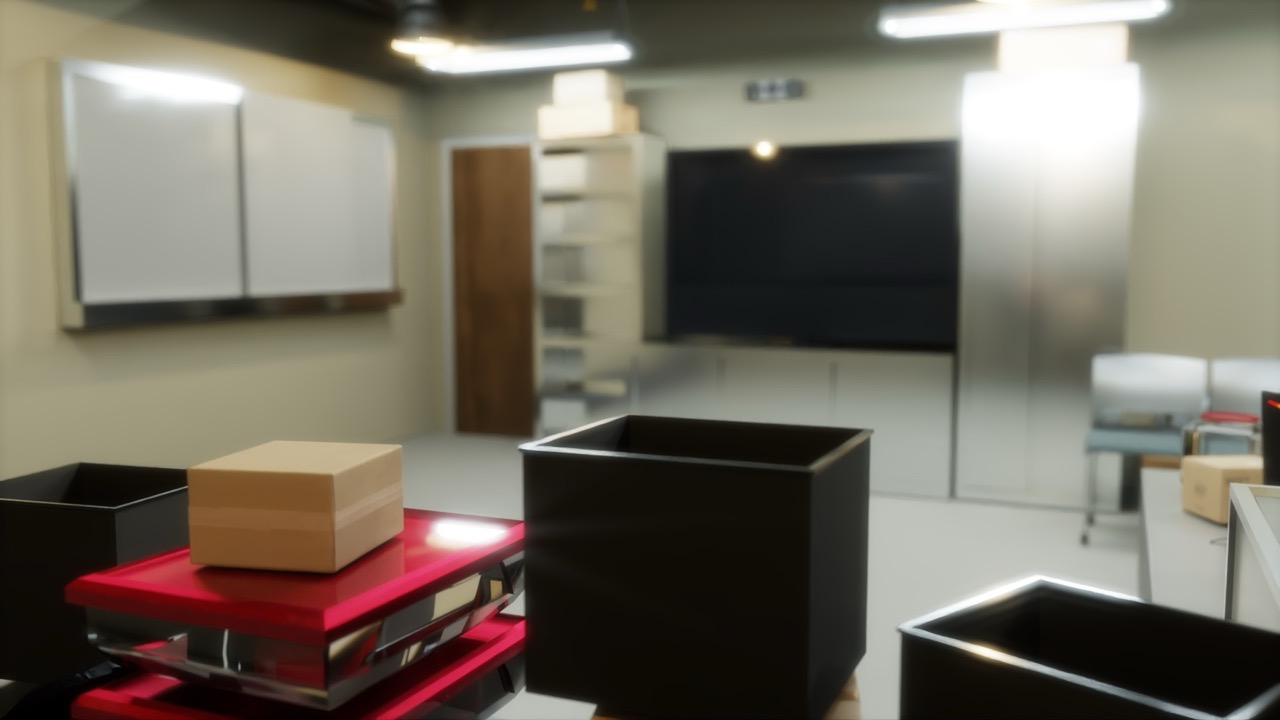
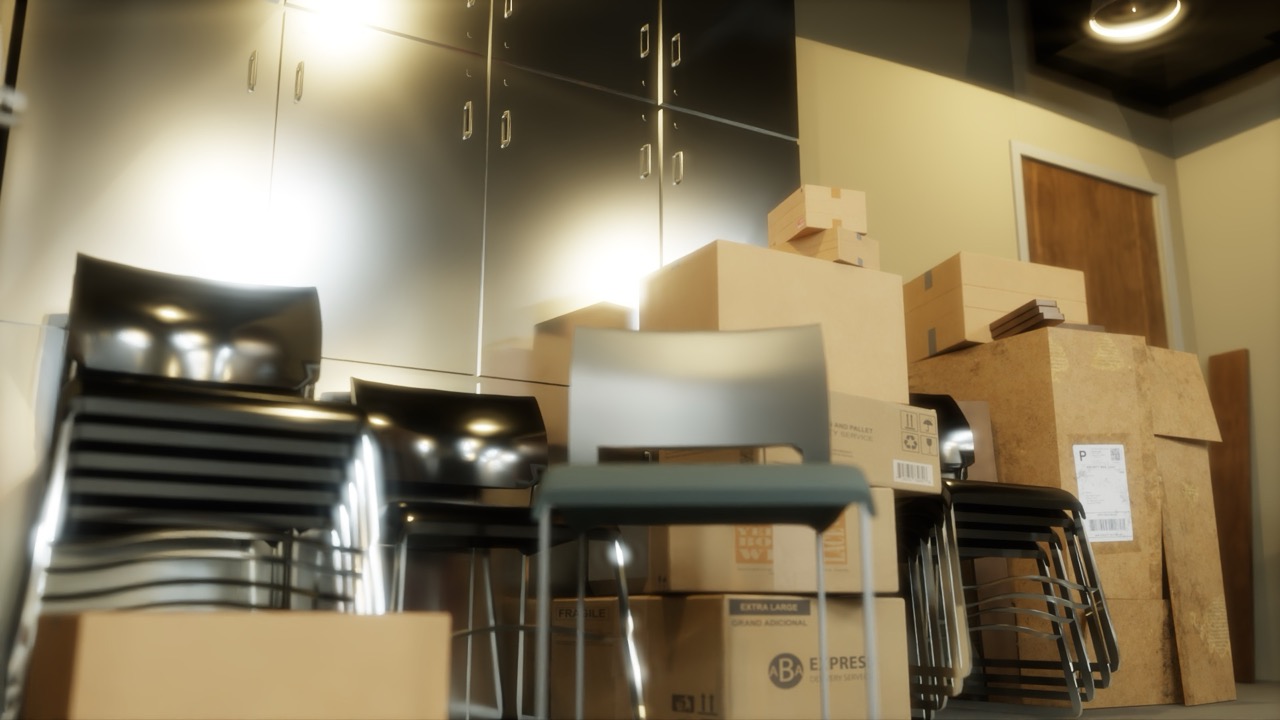
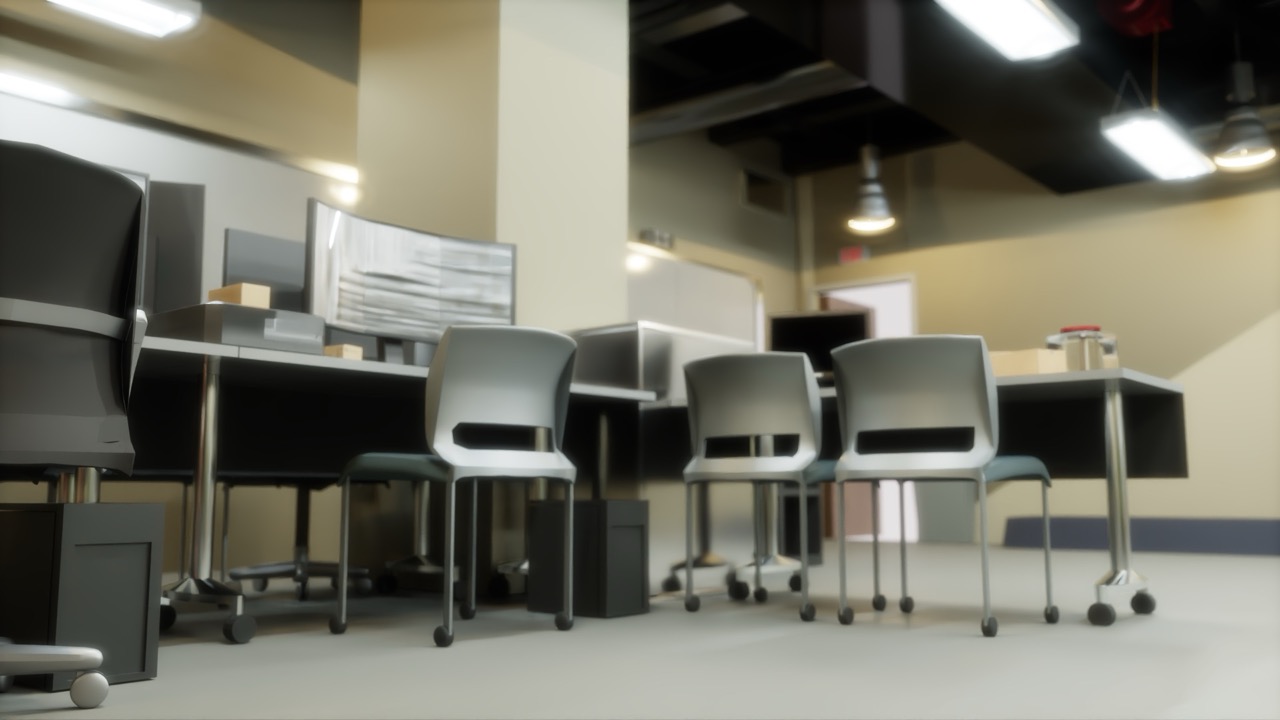
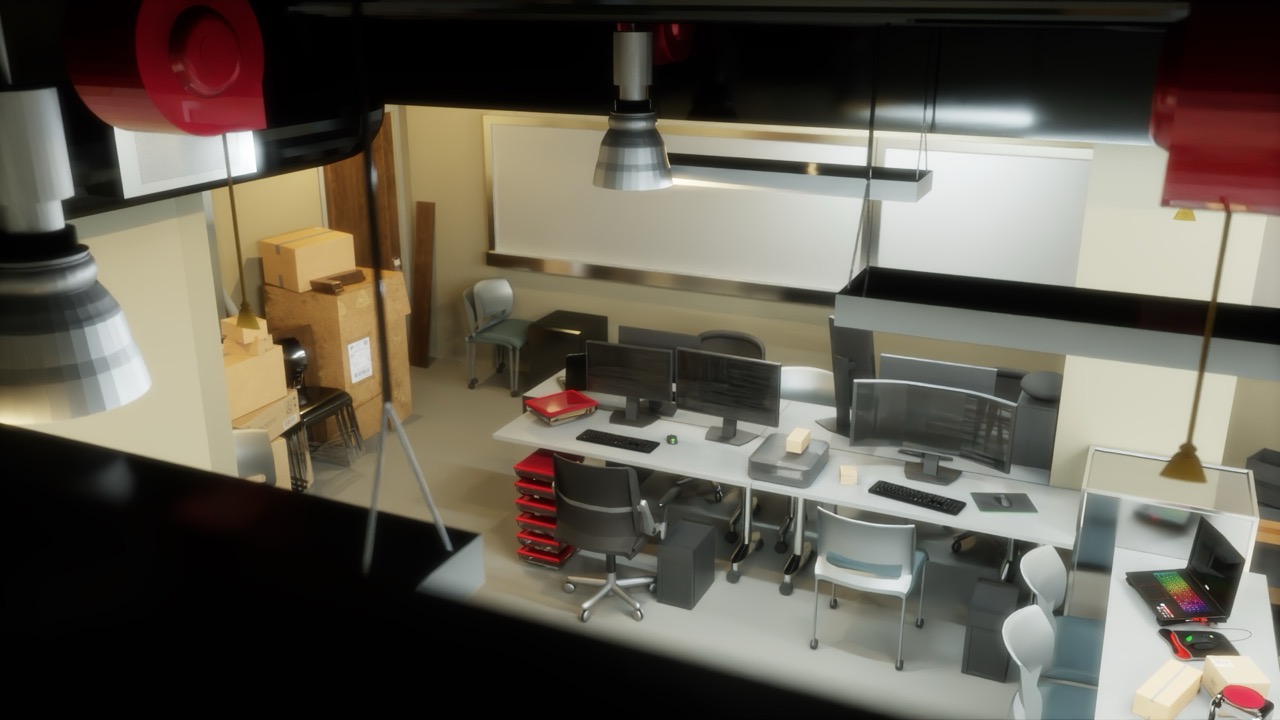
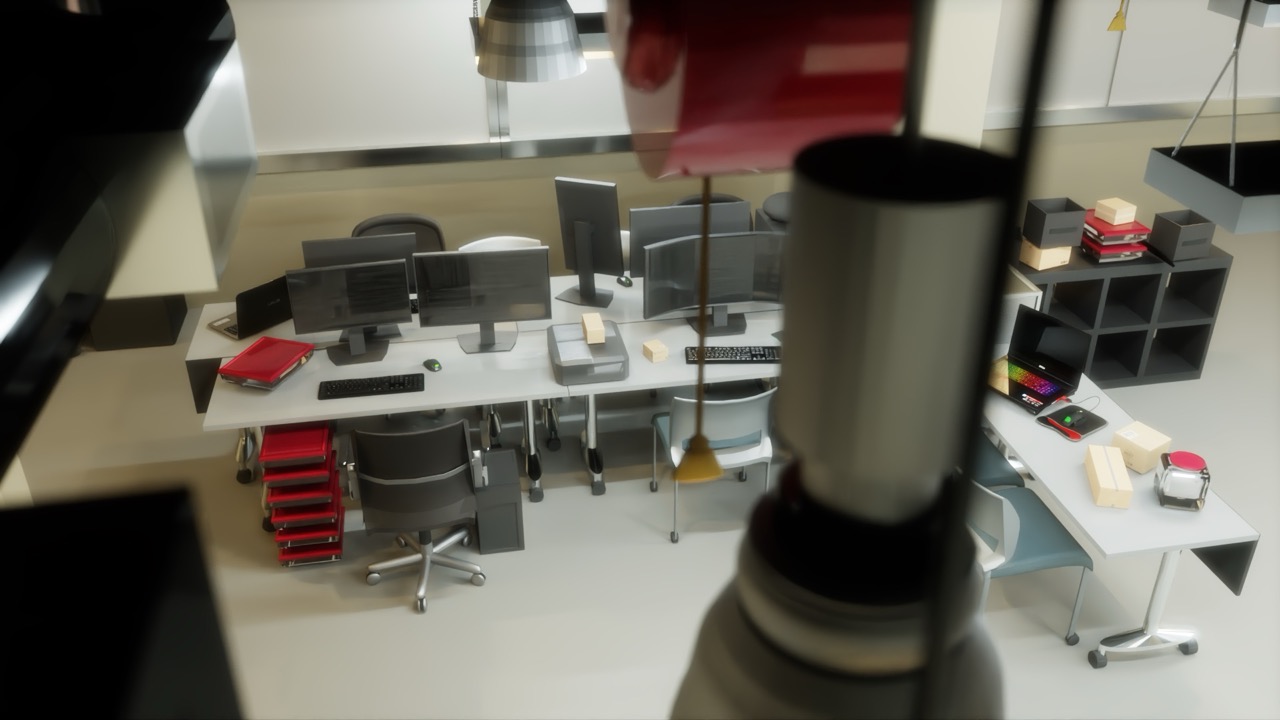
After adding the remaining props, I rendered the lab from many angles and compared the renders against the real room to catch anything that didn't match.
Asset Credits
Textures: Poliigon.
Phase 1 scans: captured with Polycam.
Props from Sketchfab:
- Box: "Box" by Artem Goyko, licensed under CC BY 4.0. Available on Sketchfab.
- Desk Asset: "Desk Asset" by Ankledot, licensed under CC BY 4.0. Available on Sketchfab.
- Desktop Computer: "Desktop Computer" by Tytan, licensed under CC BY 4.0. Available on Sketchfab.
- Keyboard: "Keyboard" by oscarherry3d, licensed under CC BY 4.0. Available on Sketchfab.
- Laptop (FREE): "Laptop (FREE)" by Brandon Westlake, licensed under Free Standard. Available on Sketchfab.
- Laptop and Mouse: "Laptop and Mouse" by Nick Broad, licensed under CC BY 4.0. Available on Sketchfab.
- Mouse Razer DeathAdder: "Mouse Razer DeathAdder" by gimora, licensed under CC BY-NC-SA 4.0. Available on Sketchfab.
- Old Paper & Cardboard Boxes: "Old Paper & Cardboard Boxes" by TooManyDemons, licensed under CC BY 4.0. Available on Sketchfab.
- PC Mouse Type R: "PC Mouse Type R" by rubykamen, licensed under CC BY 4.0. Available on Sketchfab.
- Razer Huntsman Mini Keyboard: "Razer Huntsman Mini Keyboard" by FoxFX, licensed under CC BY 4.0. Available on Sketchfab.
- Set of Cardboard Boxes: "Set of Cardboard Boxes" by NotAnotherApocalypticCo., licensed under CC BY 4.0. Available on Sketchfab.